How to Create an Event with the Event Wizard
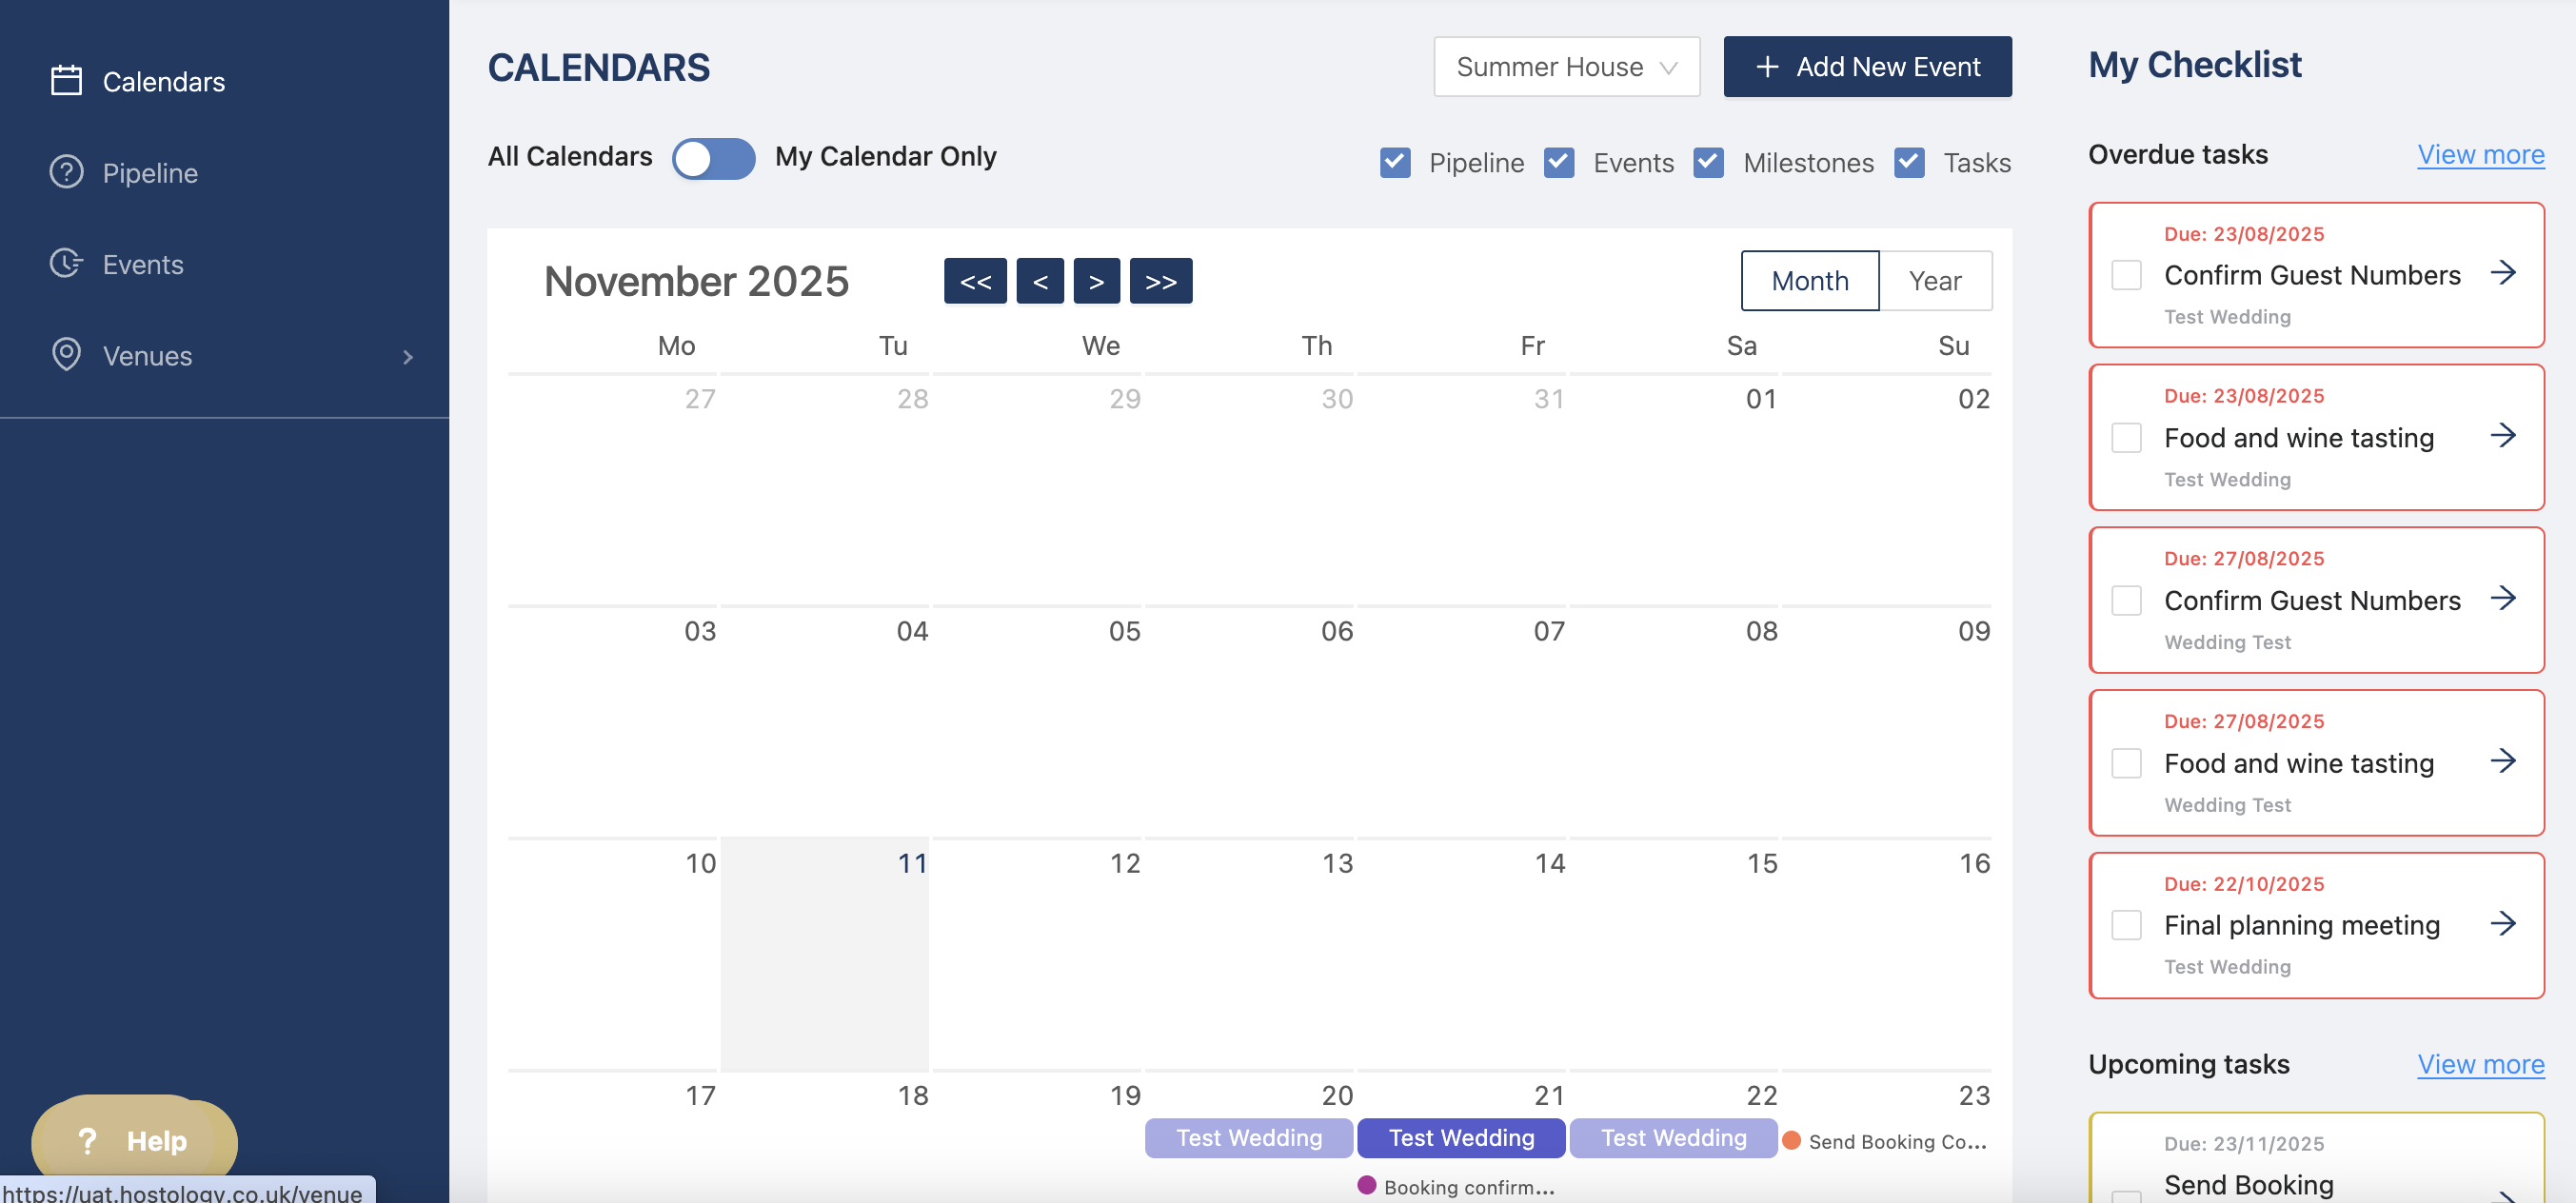
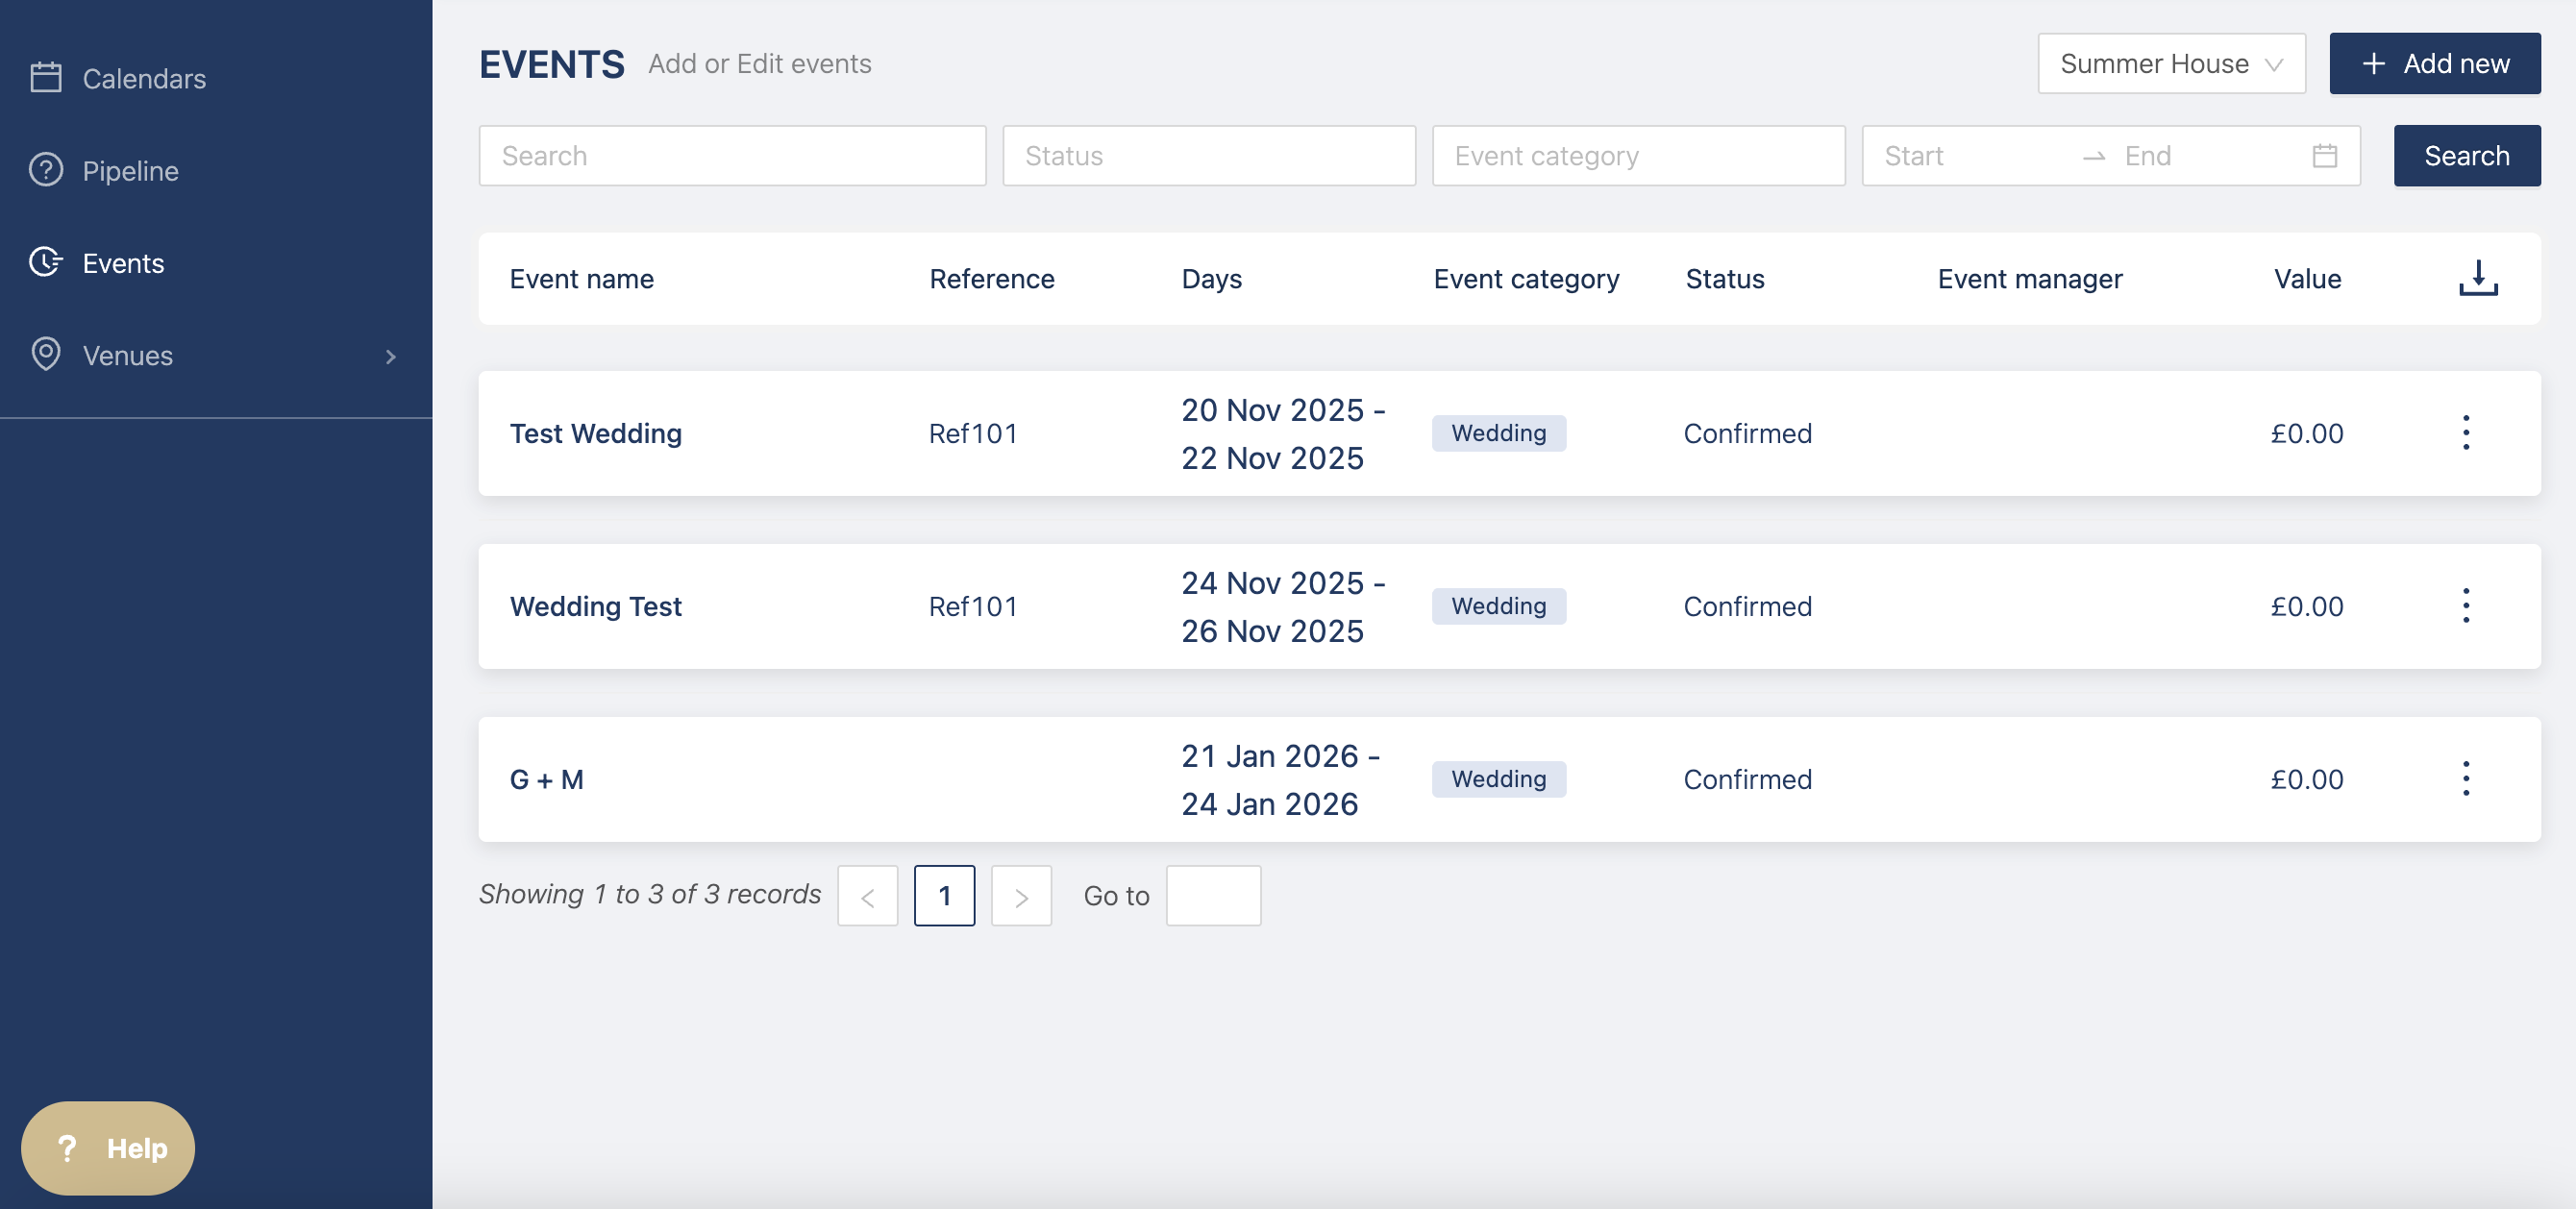
To create an event, click on the +Add Event on the Calendar or Event Table page
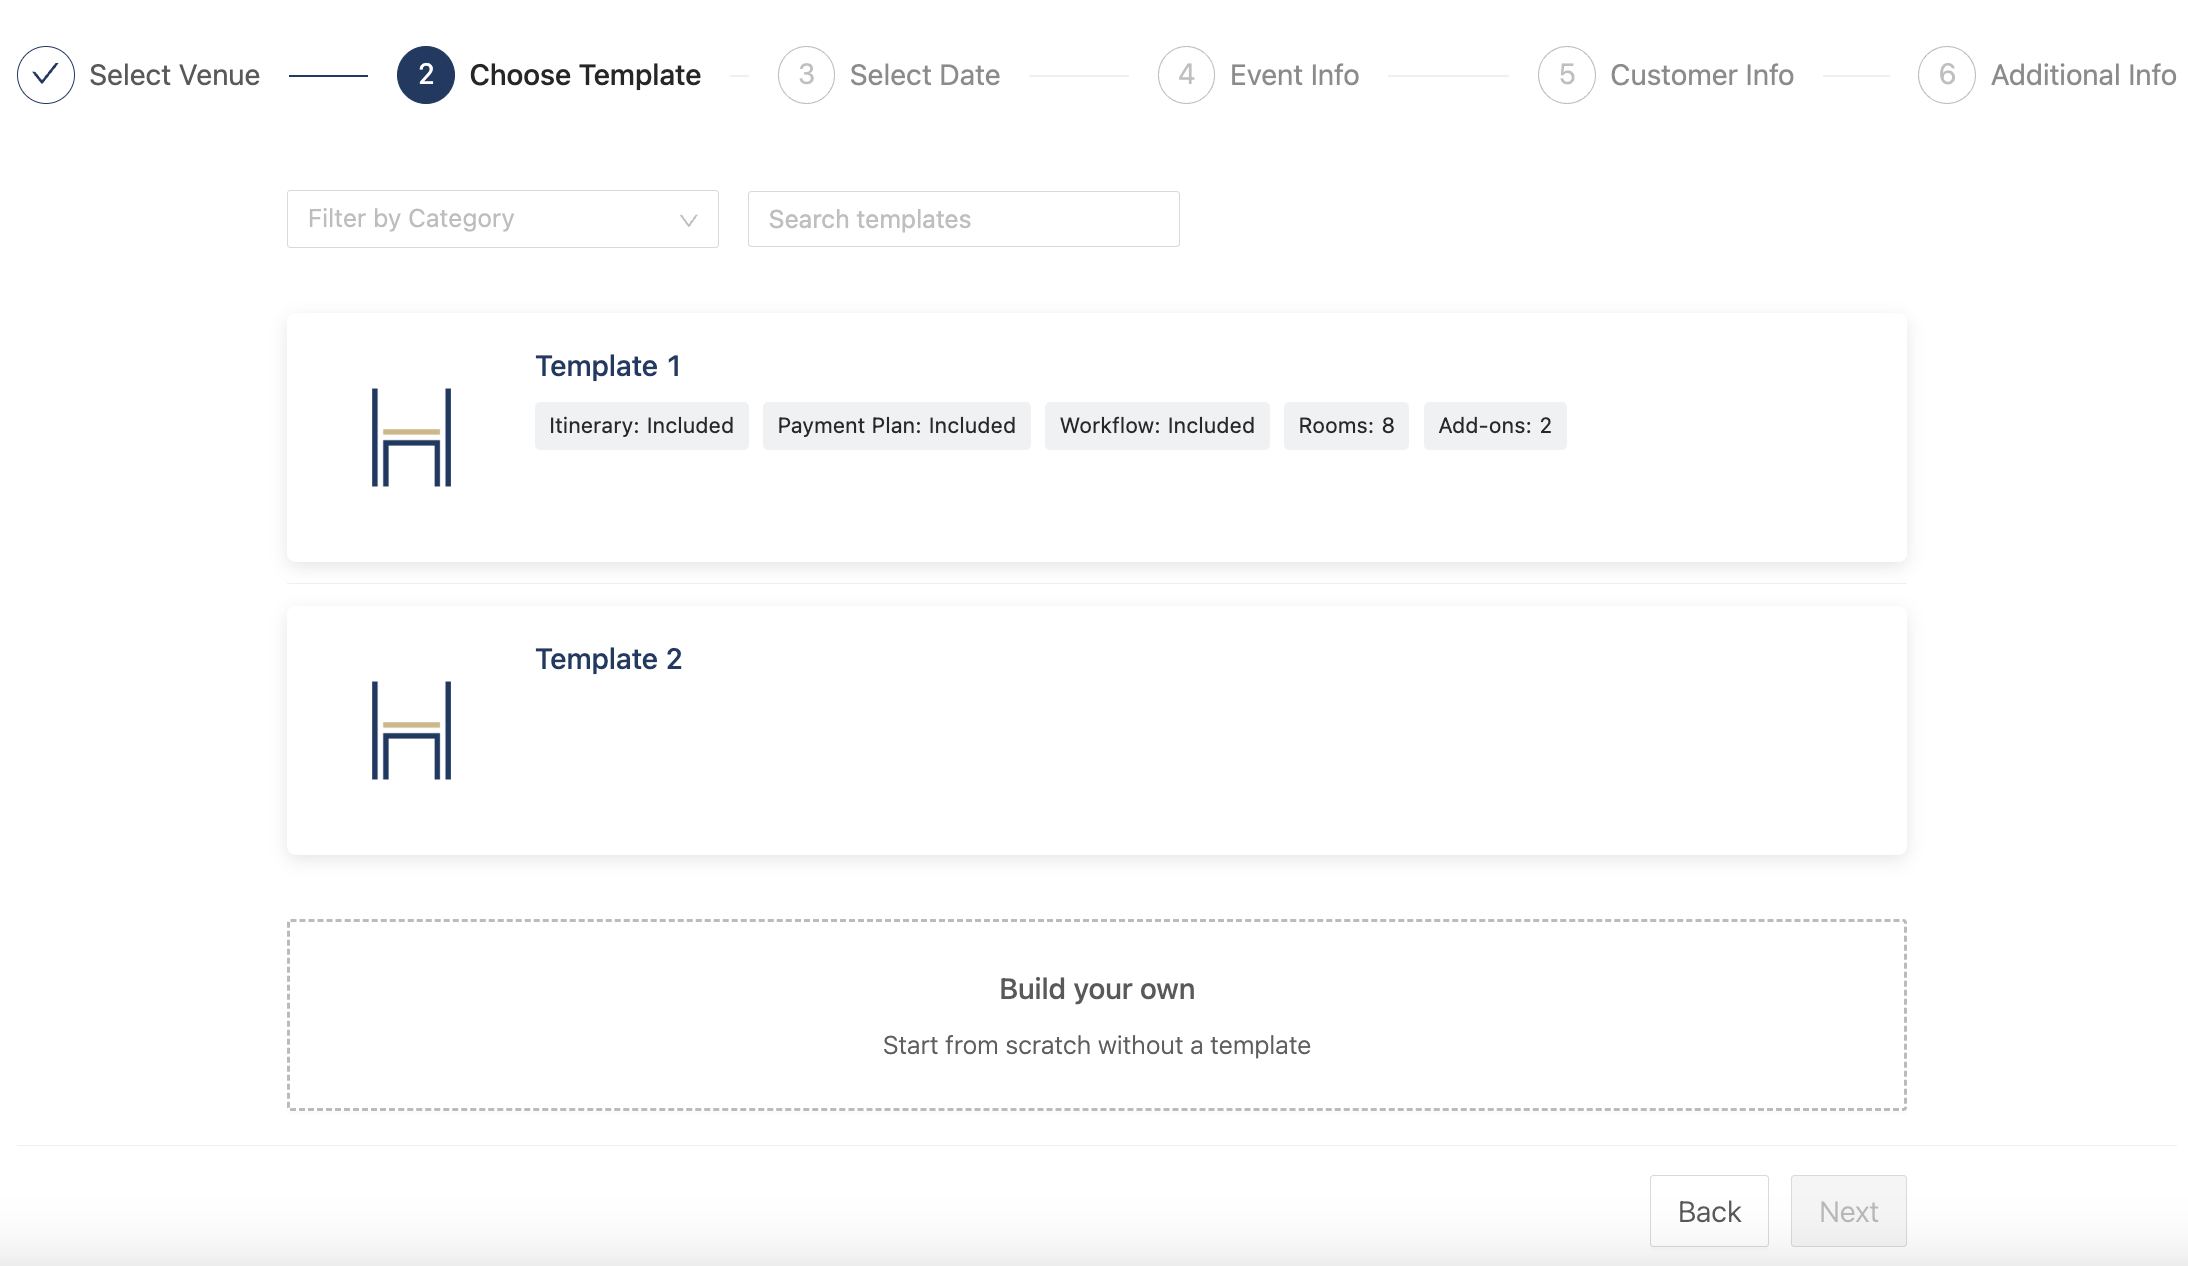
Once you click on the button, a new page opens up where you can select a template created on the venue side or you can create the event from scratch.
You can then select the date for the event and a calendar will pop up to show you if there are any clashes with other events.
If there are rooms assigned to the template and it clashes with another event, you can still add the new event but no rooms will be added.
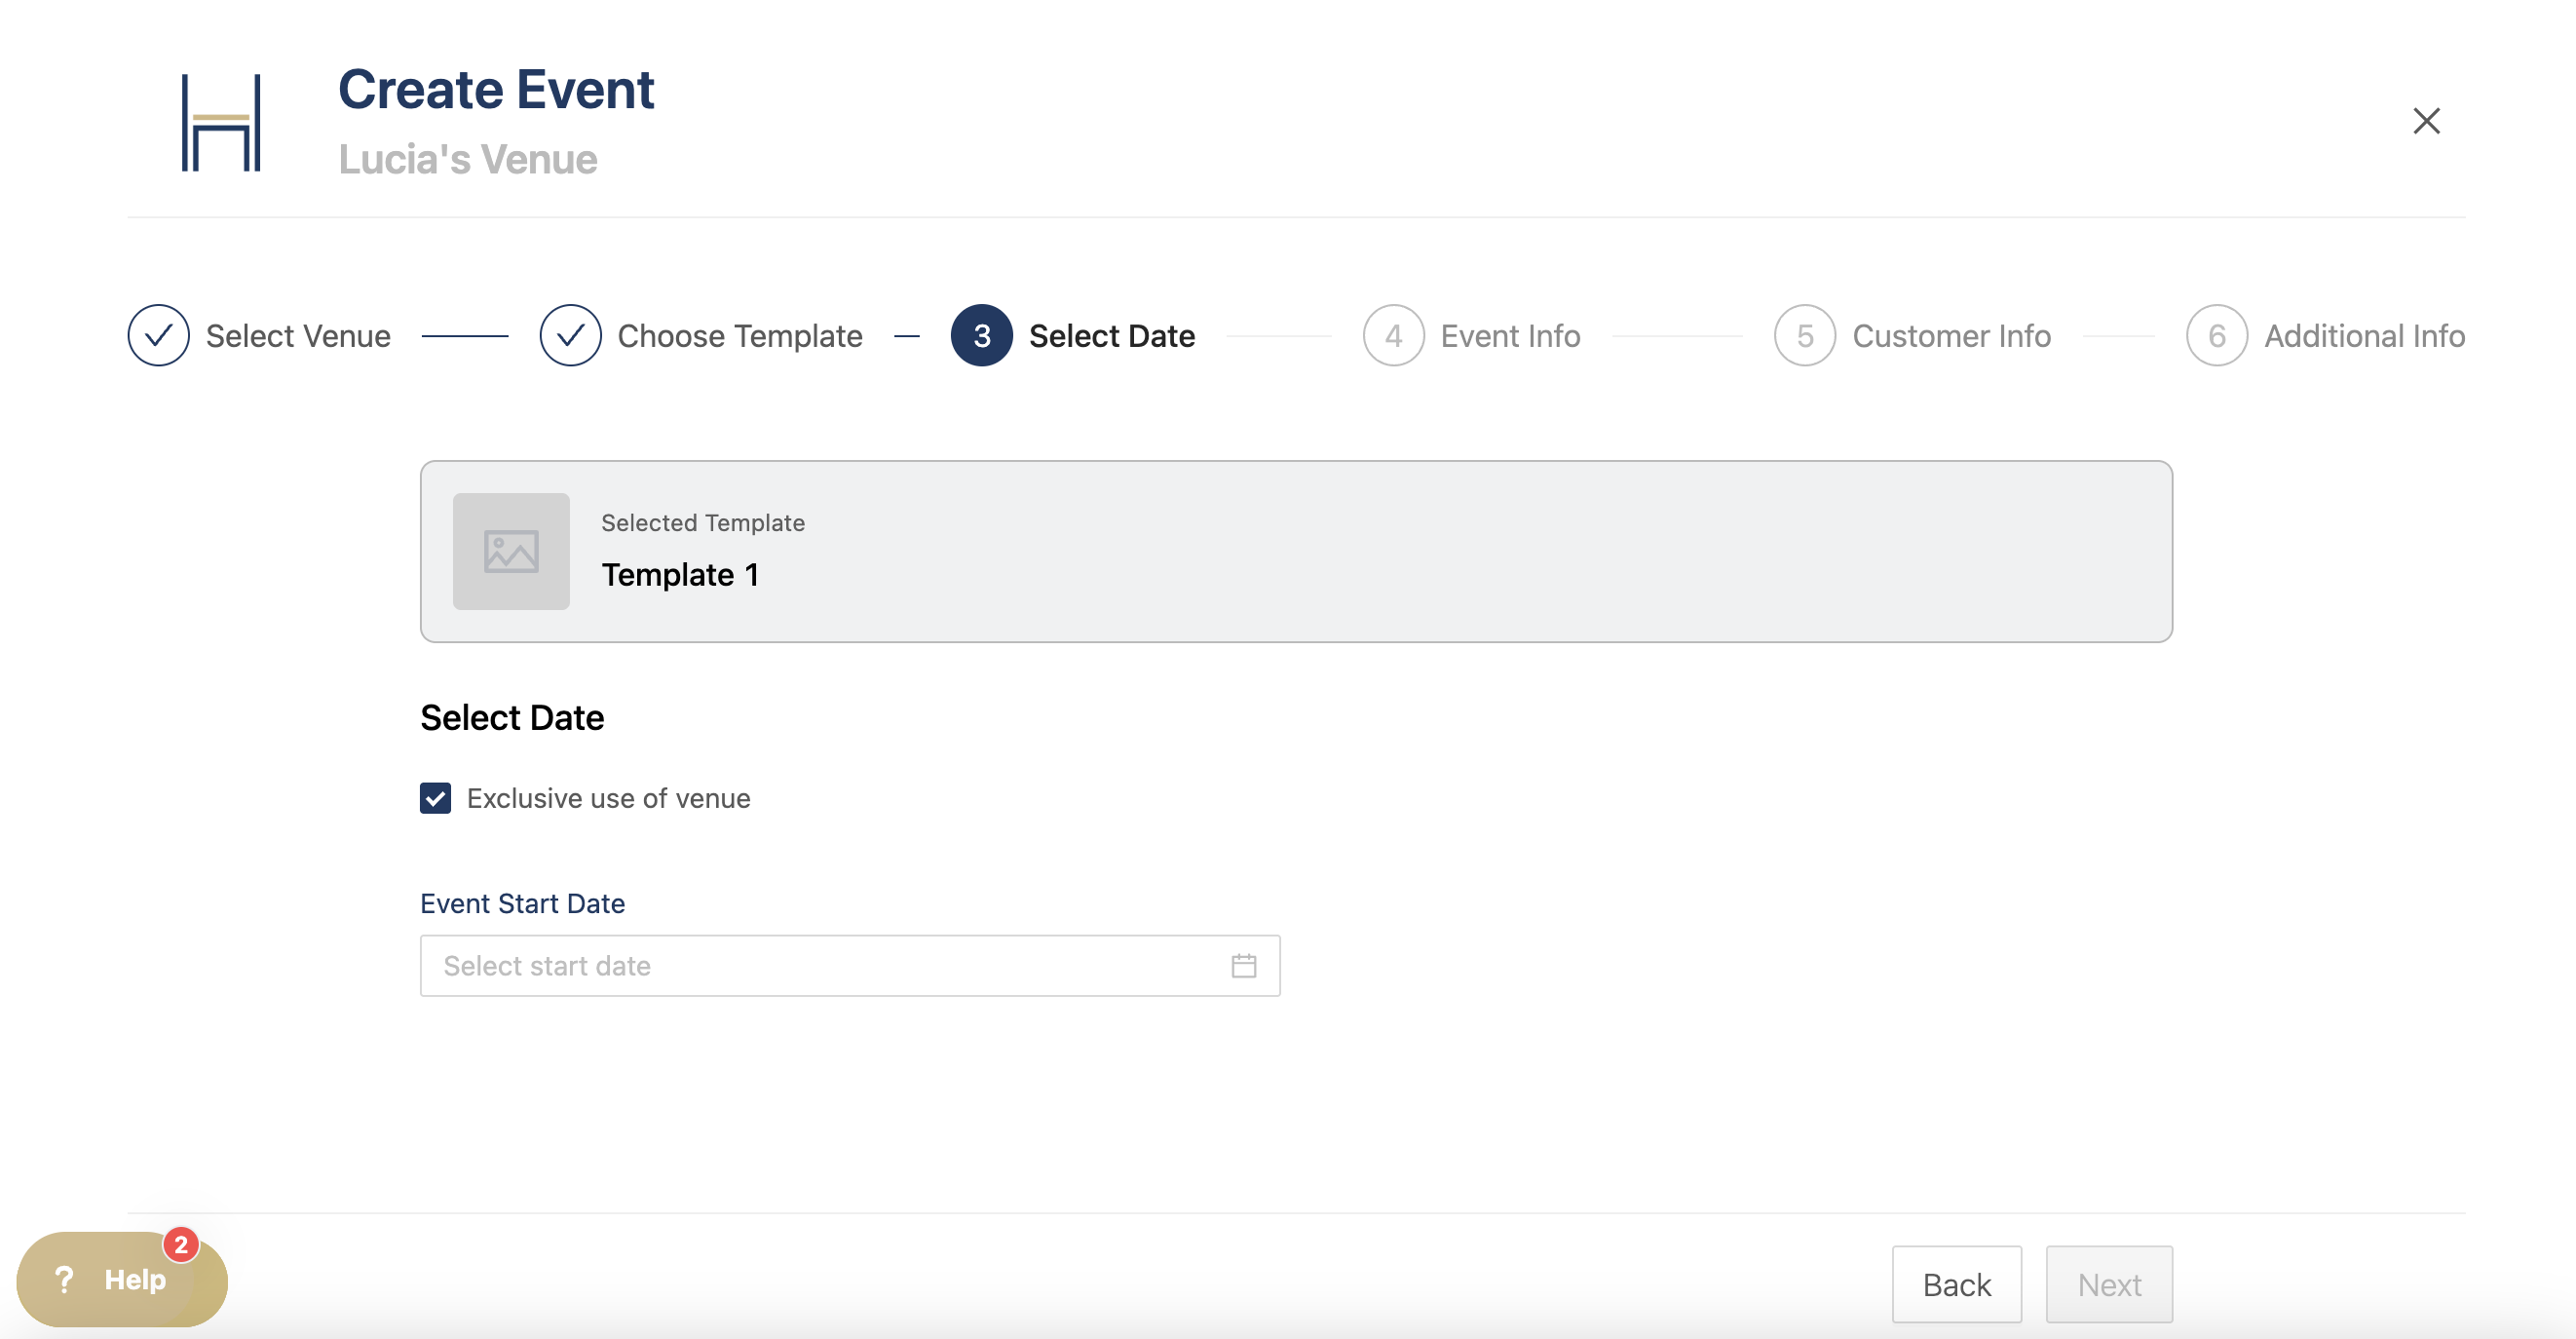
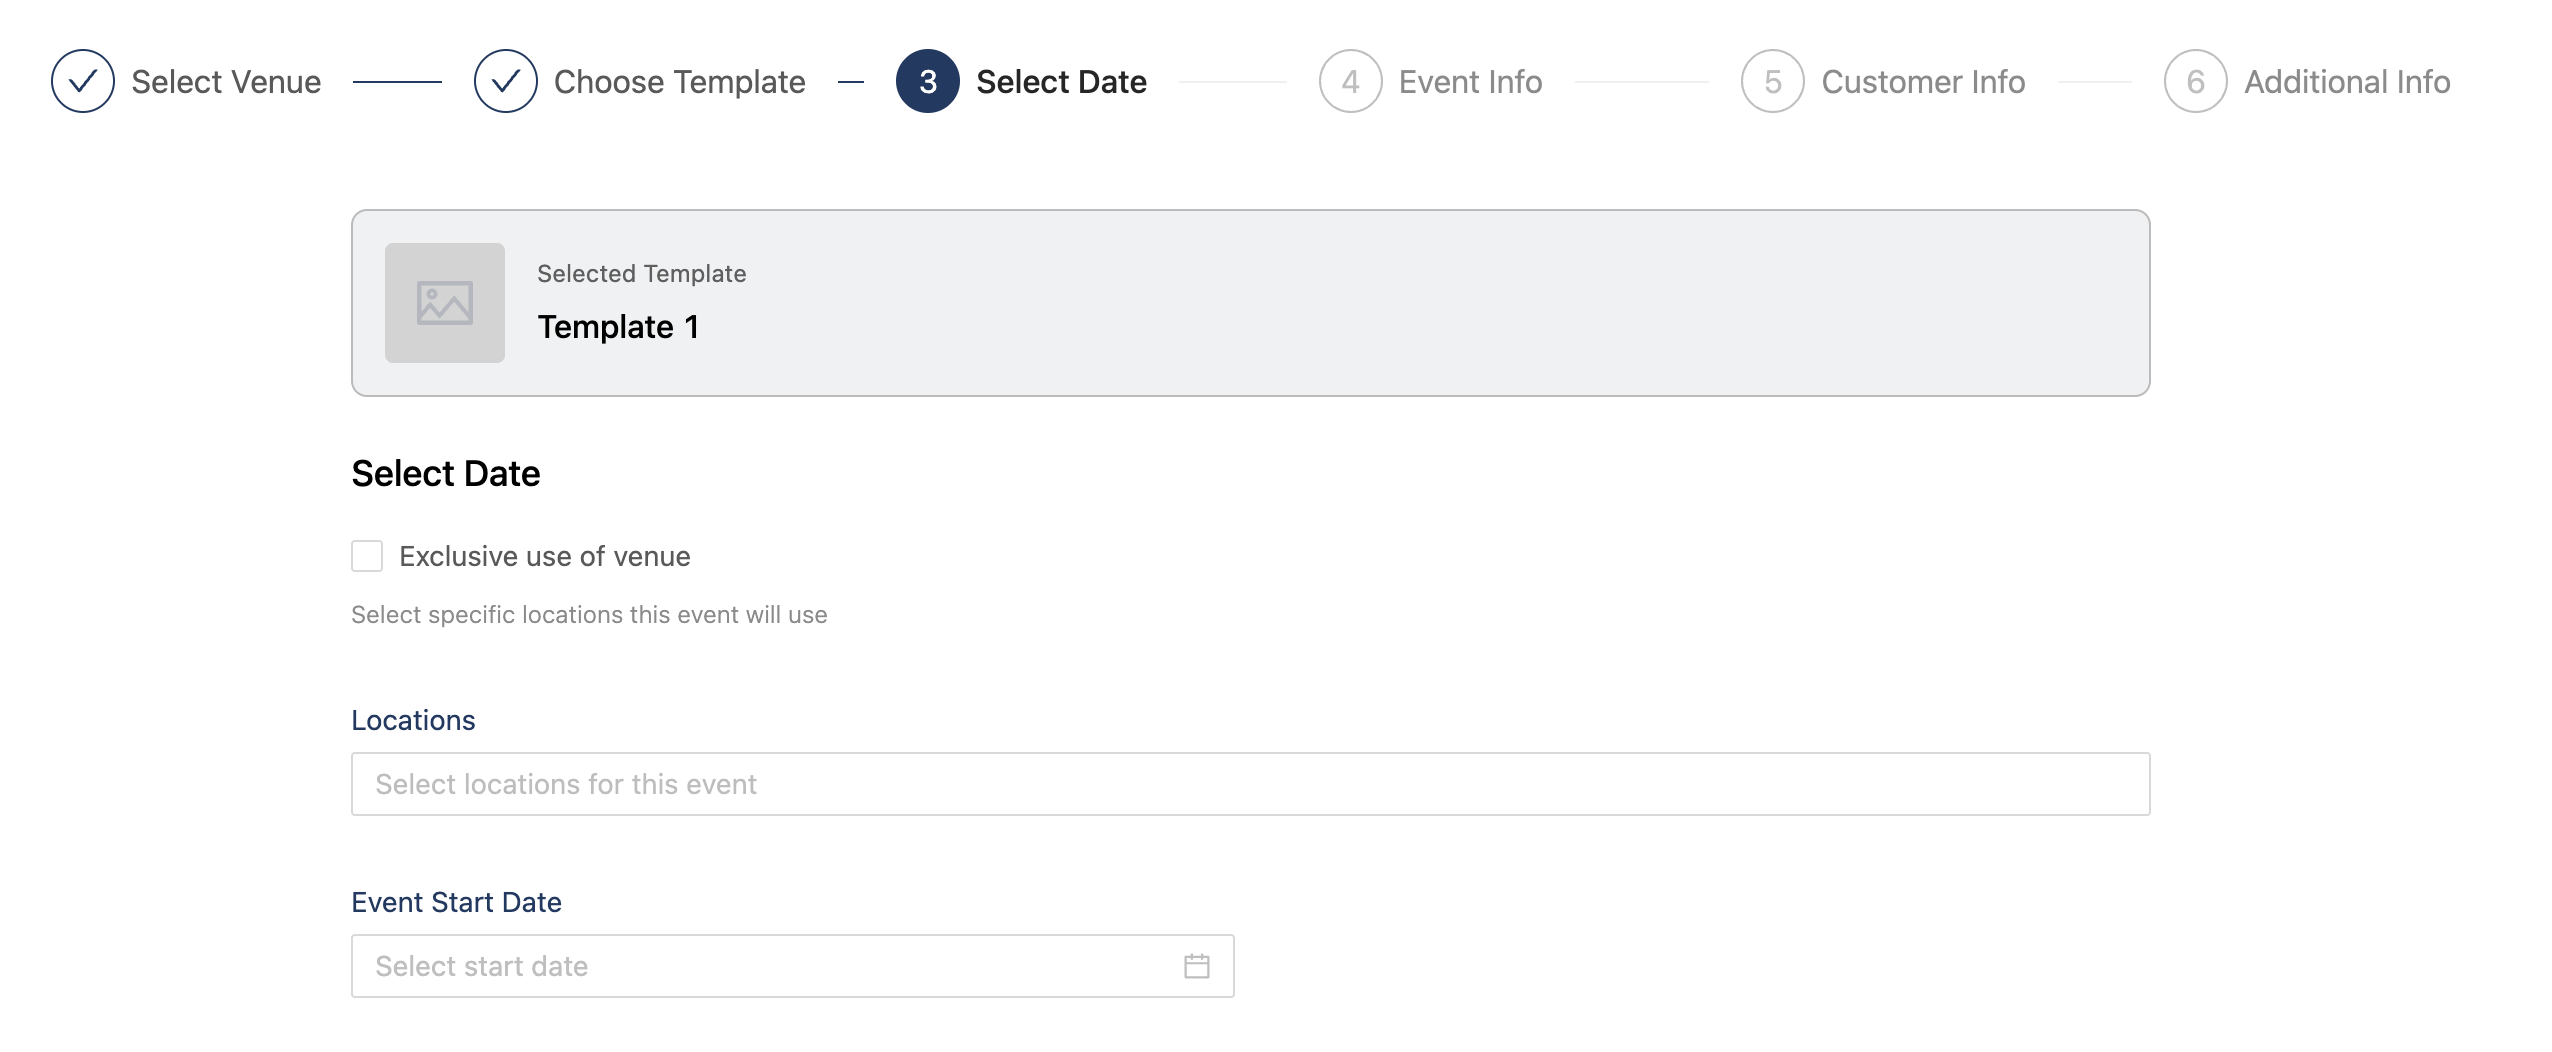
If the event is exclusive use, you can leave the "Exclusive use of venue" ticked, if it's not, you can select which space to book (based on the Event Spaces you set up at venue level).
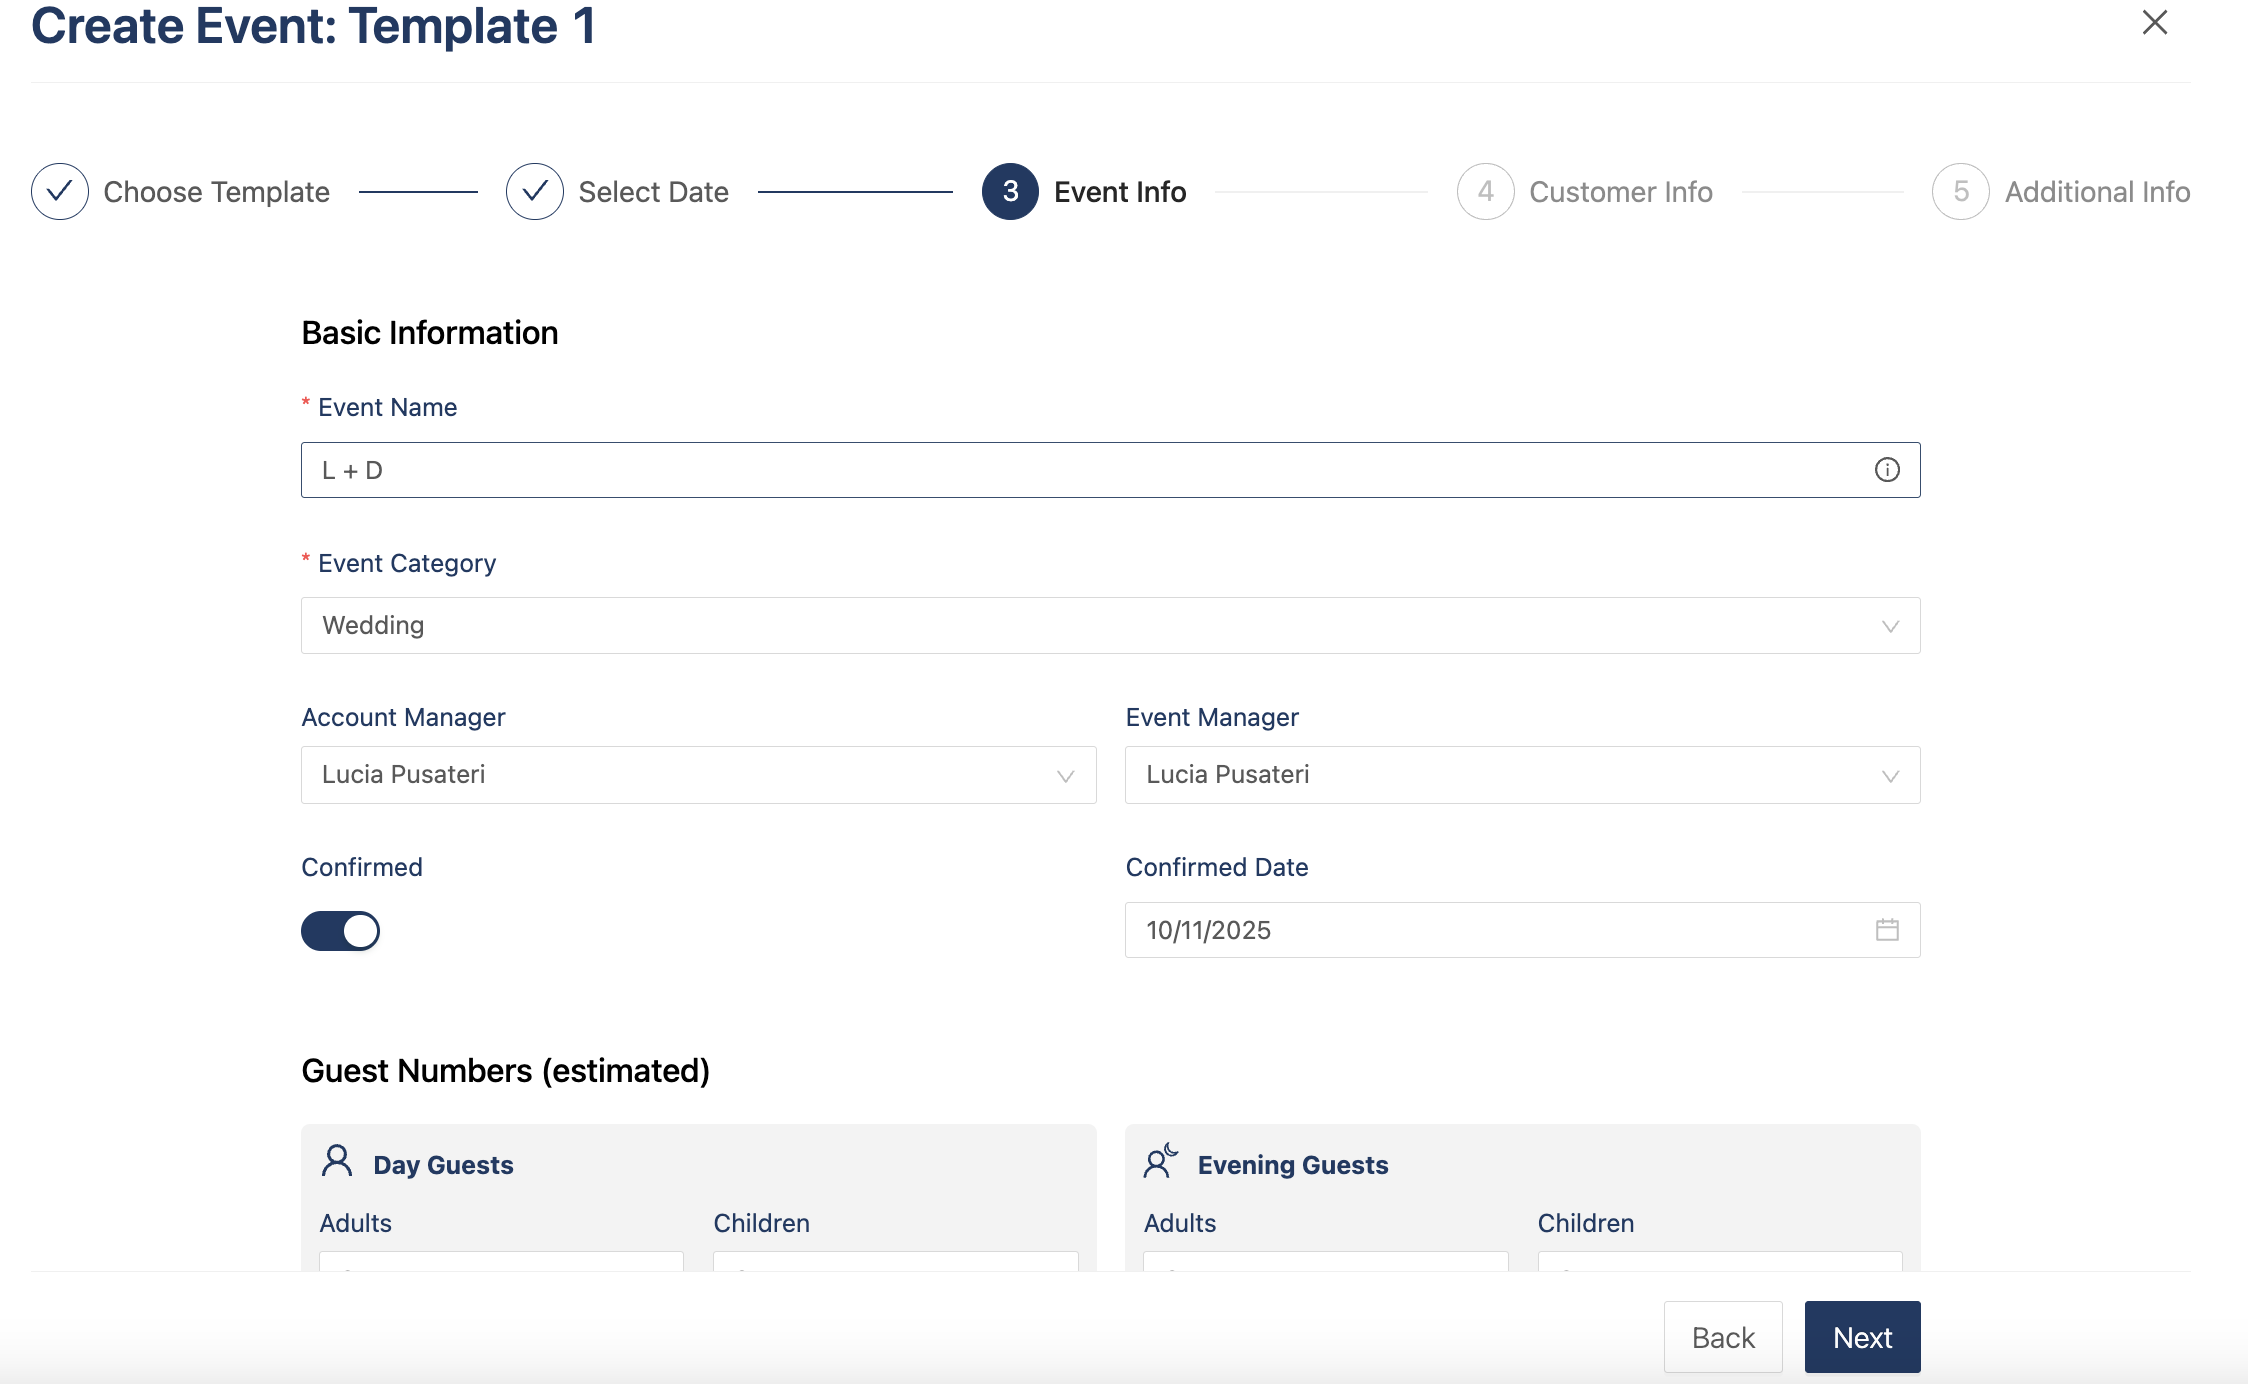
Once you've selected your spaces and dates, you can add all the following details:
- Event name
- Event category
- Account manager
- Event manager
- Guest numbers
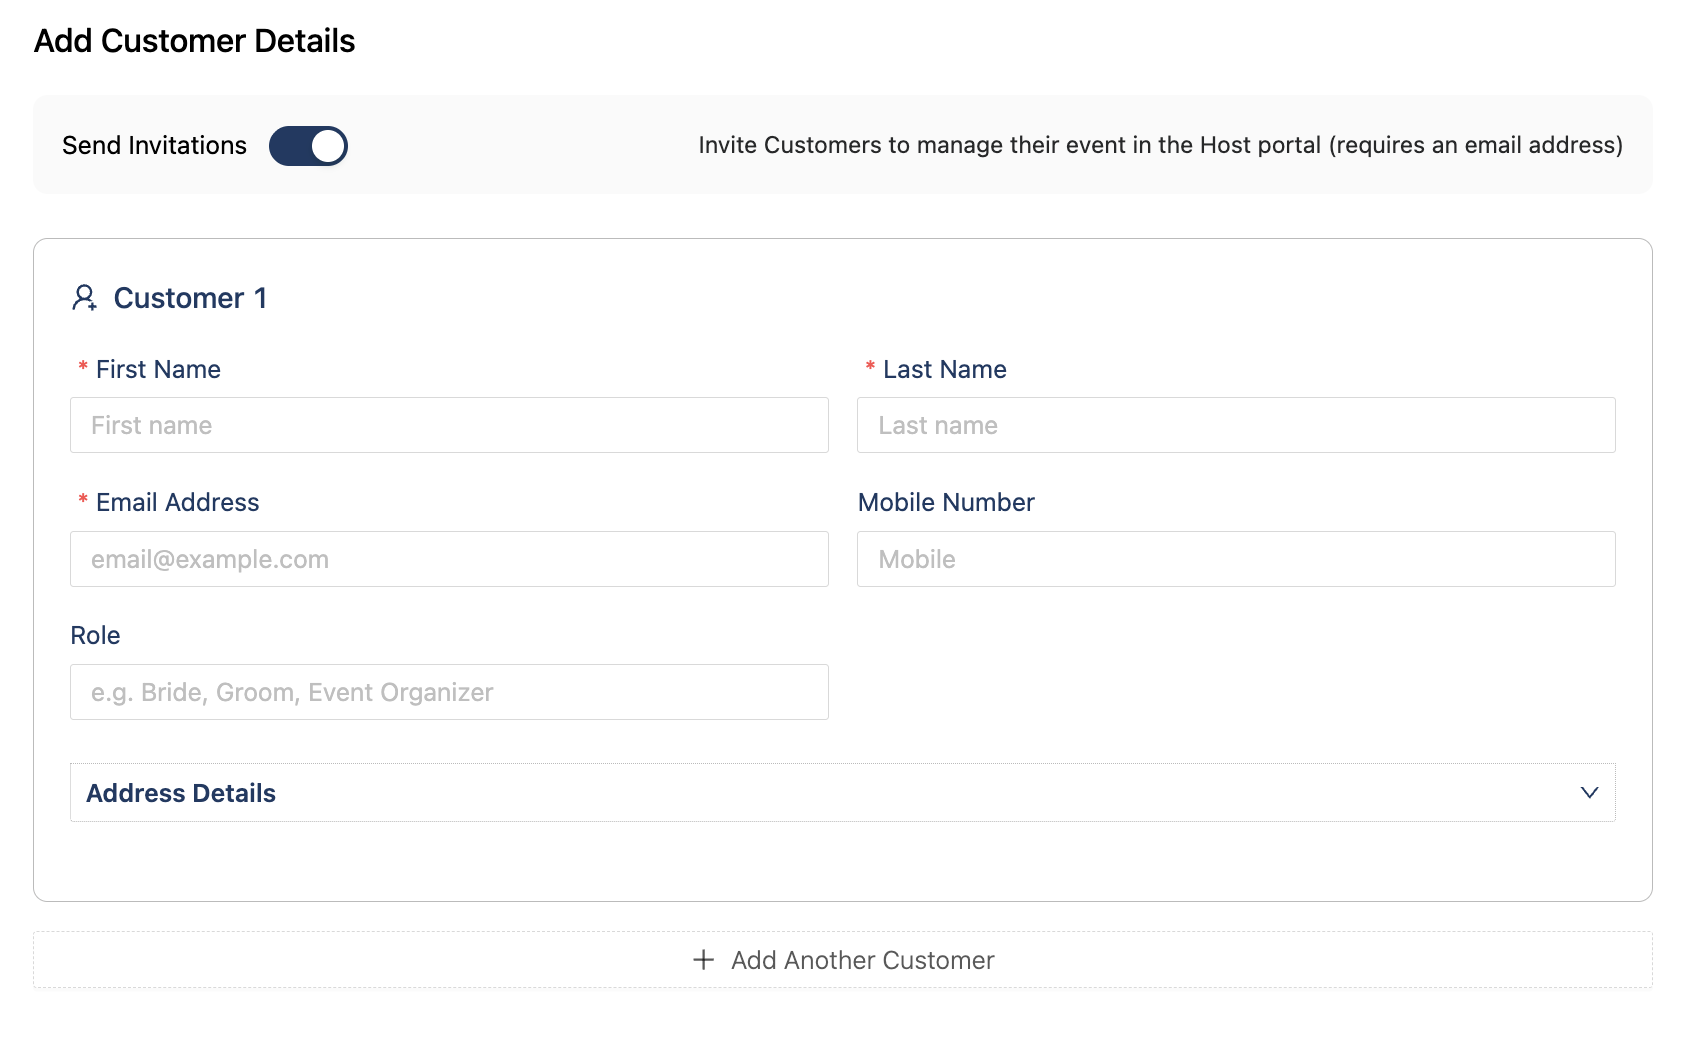
Now you add your Hosts to your event.
If the workflow added to the template has tasks for the hosts, they will not be assigned to them unless you invite them when creating the event. If you don't want to invite your hosts right away, you can untoggle "Send Invitations" and they will not be invited.
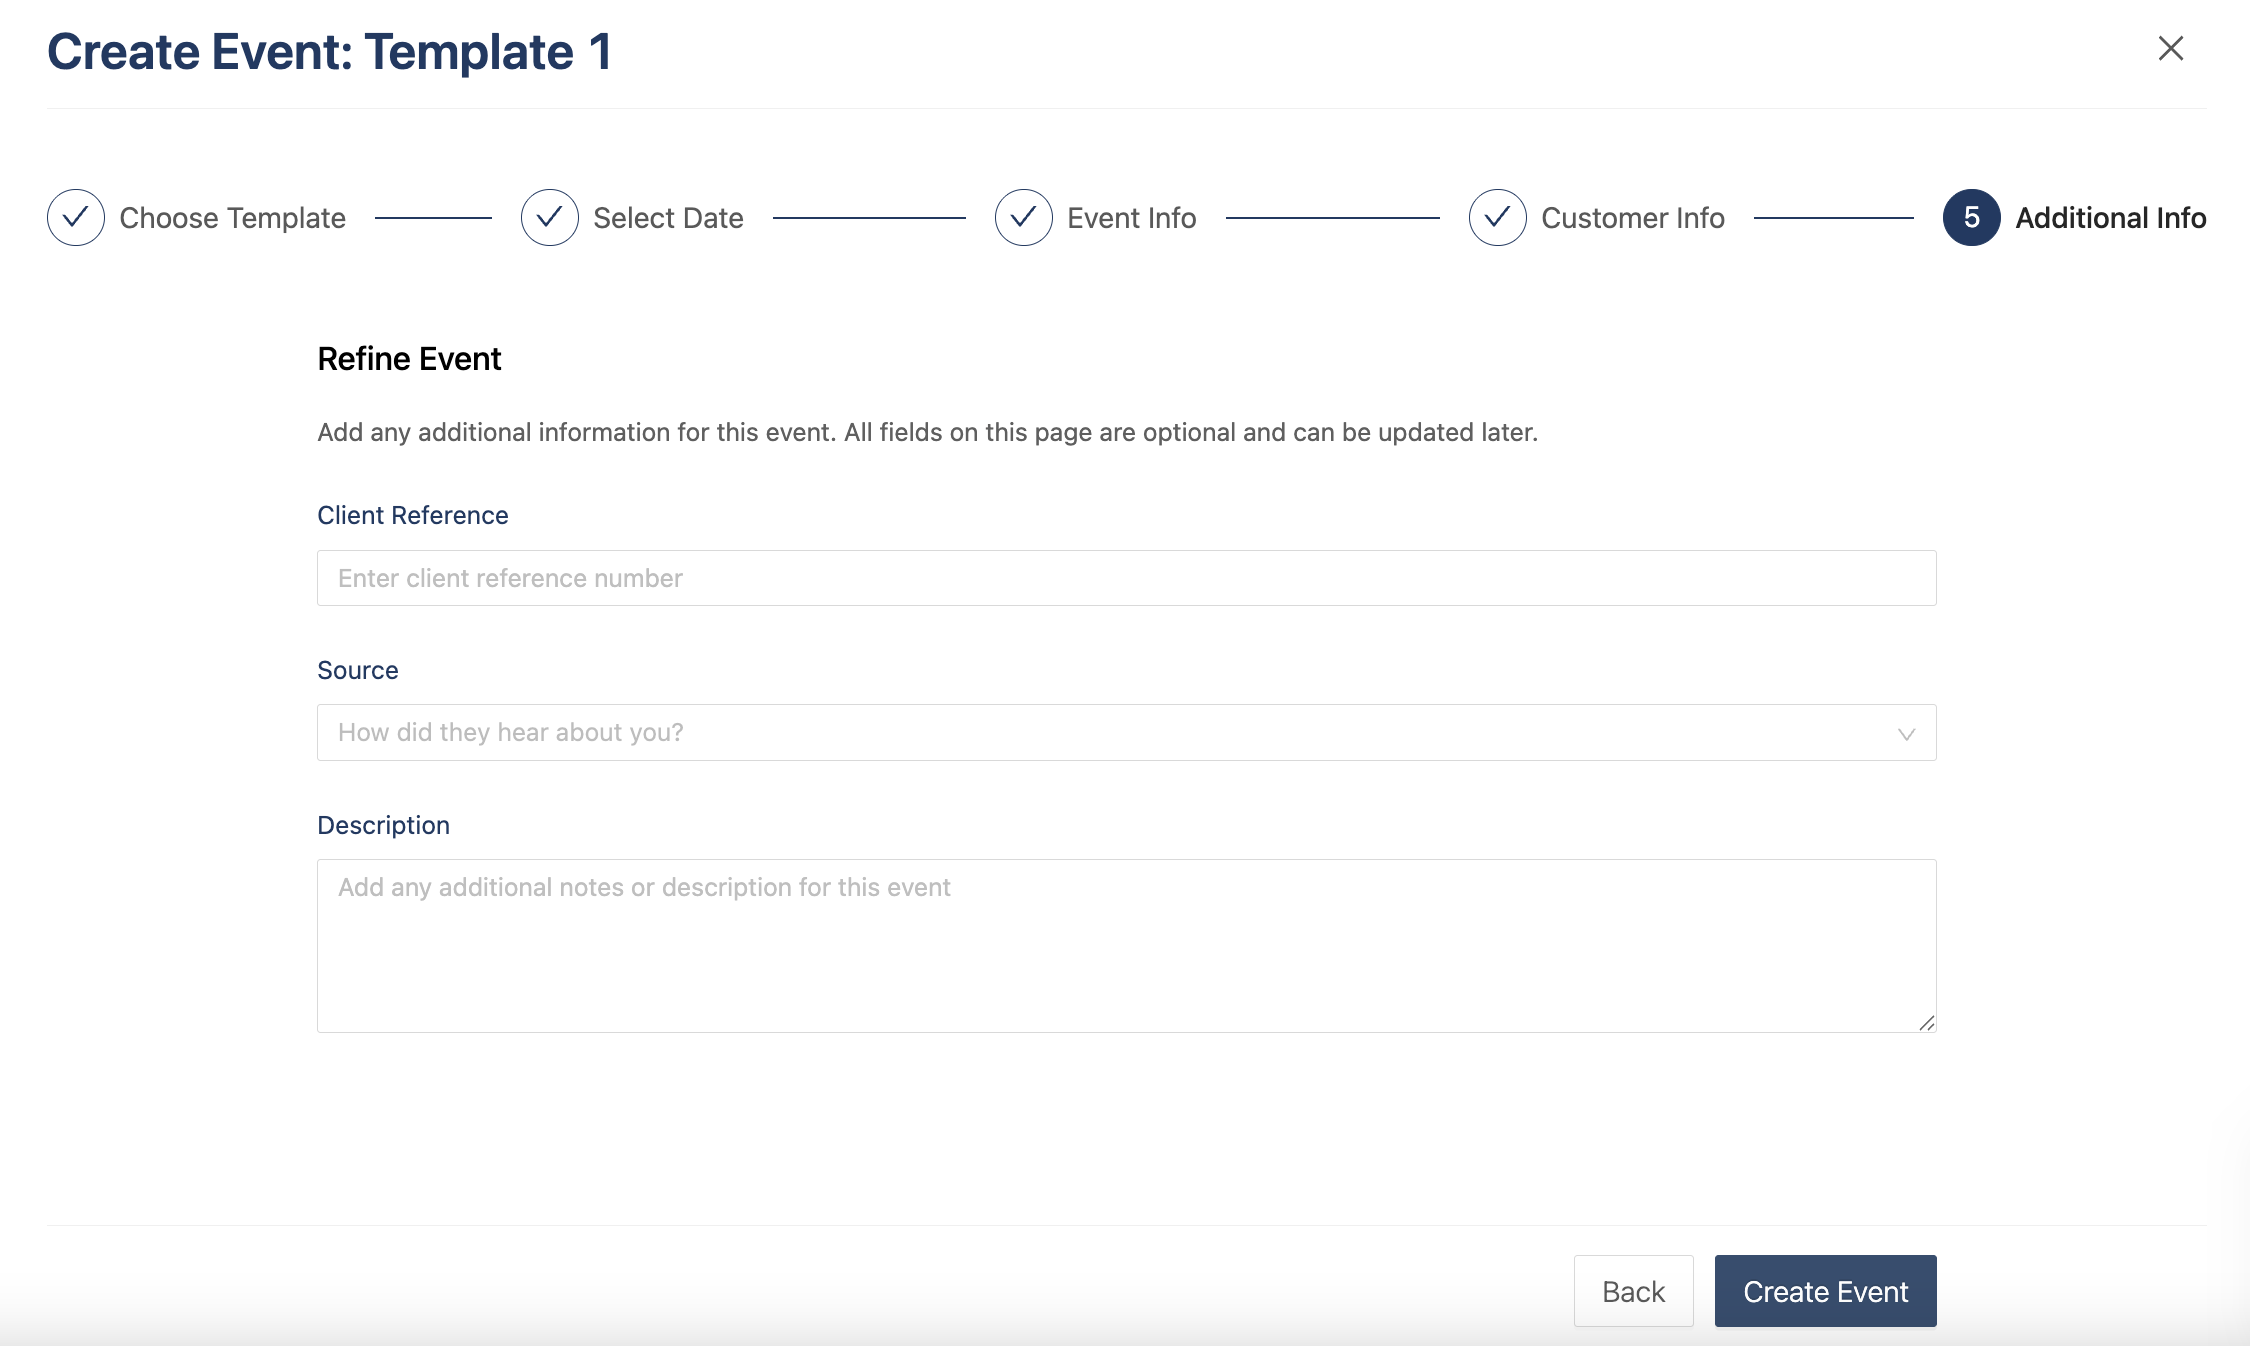
Add a client reference, source, or description of the event.
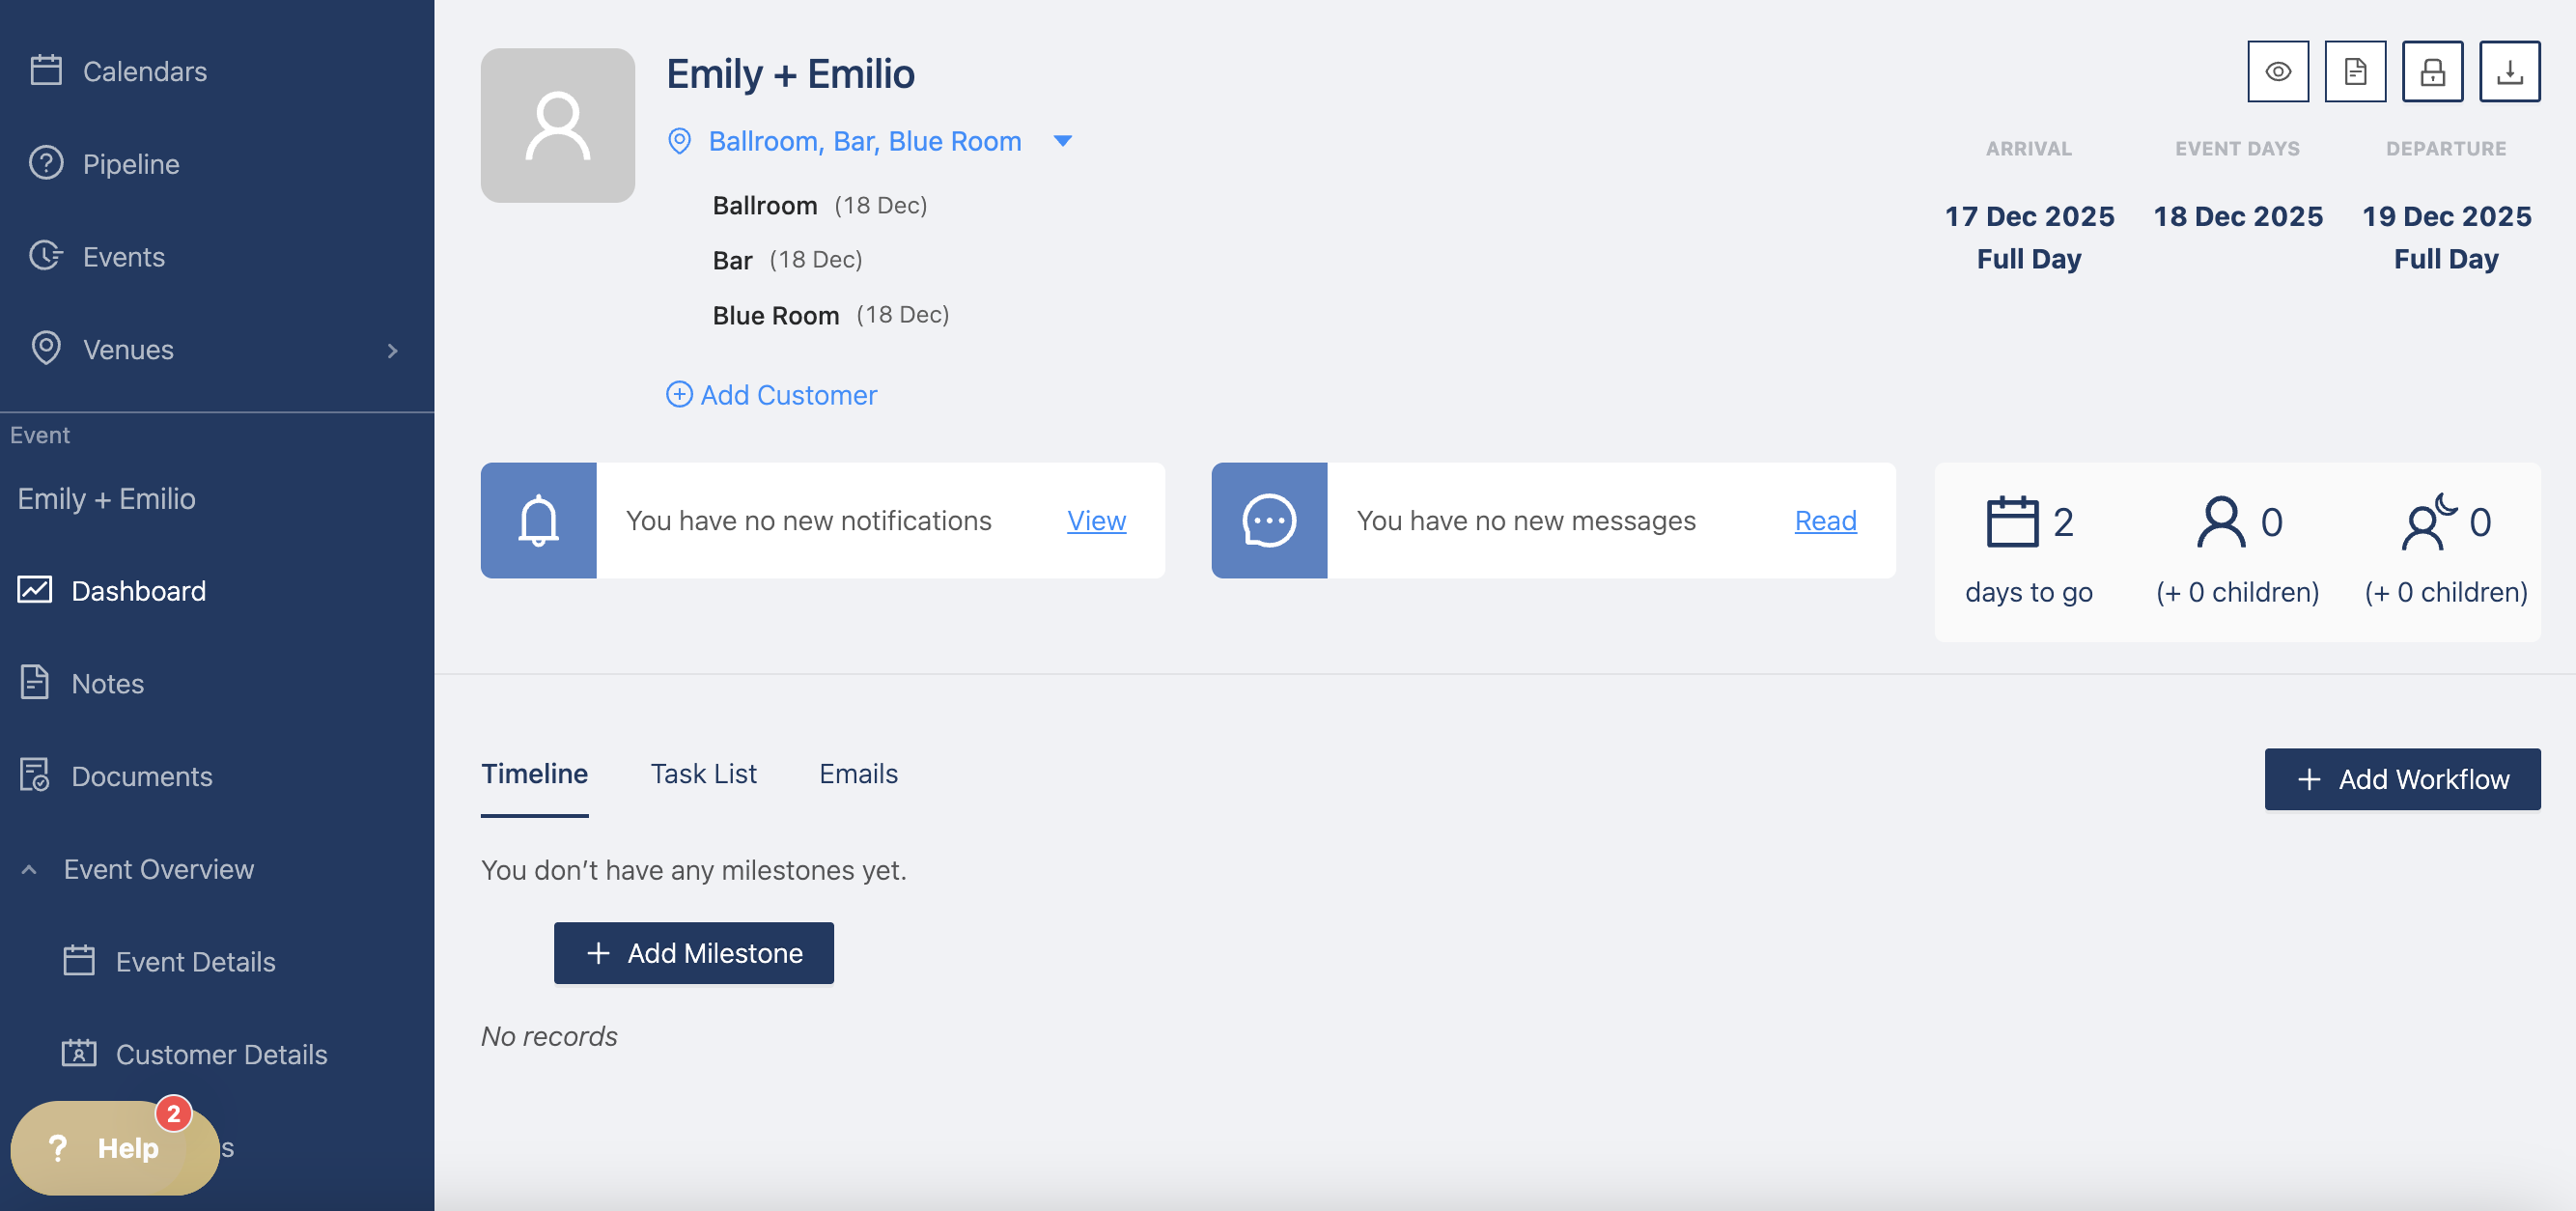
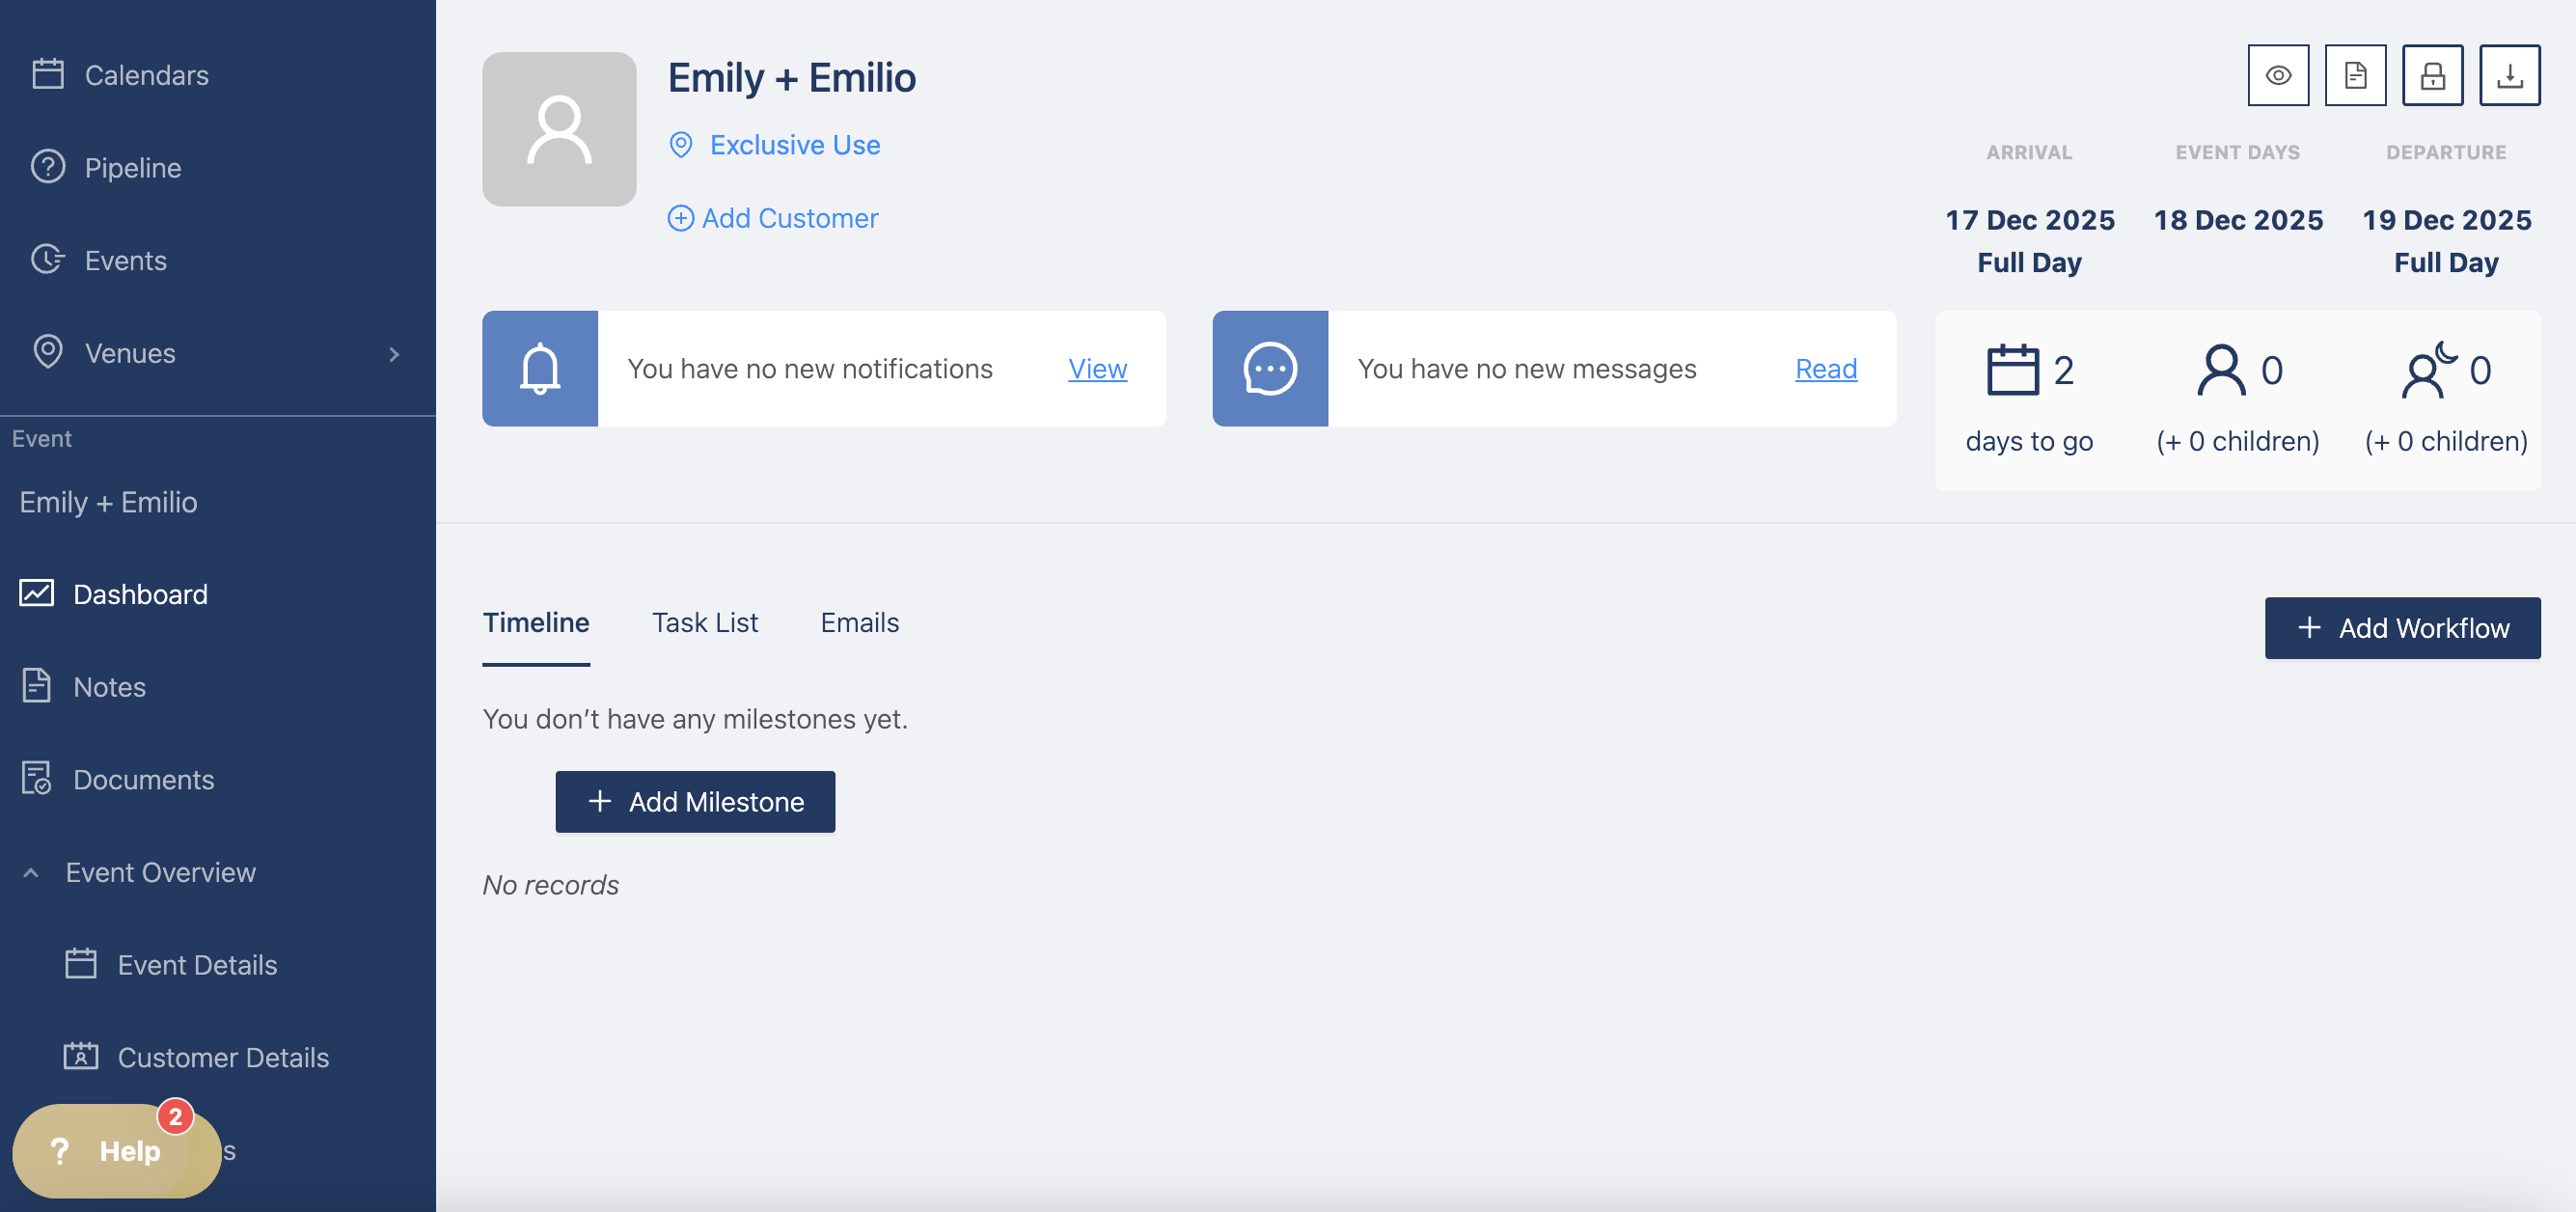
You will then be redirected to your new event with all the items you added to the templates.
If your event is exclusive use, you'll see it underneath the event name like so:
If your event is non exclusive, you'll also see it underneath the event name, with the all the spaces listed