
Food and Drink
Watch this video on how to add food and drink menus and items
The food and drink section is split into two tabs:
- Menus: These are a collective of individual items, with one price. Menus can be used to create set menus. If your customers need to choose options, you can create a menu with multiple choices per course, then remove any options they don’t want—without needing to adjust the "per head" pricing.
- Individual items: Individual items will show in an event with their specific price, however, a menu will only show the menu price. (So if you had 5 items, all £5 each and put them in a menu worth £20 - your customers would only see that all 5 are worth £20, and not their individual prices).
Creating individual items
To create an individual item go to your venue, and click on 'Billable items' then 'Food & Drink' in the menu on the left hand side.
Then, click on the 'Food & drink items' tab and select 'Add new':
Here you will be able to input the following information:
- Dish/drink name - What is the dish called?
- Course Category - A list of options available, from starters, to bar options
- Price per person (inc. VAT) - Pricing in Hostology is labelled as "Per person", but in quantity can also work as just the total quantity of items wanted.
- Description/plating notes - Add more details about the dish here
- Allow for ingredient swaps and changes - This allows customers to know they can request changes where possible.
- Upload a picture - You can include an image of your dish here
- Allergens - A list of recognised Allergens. For customers with specific dietaries or Allergens not listed, you can add these as a "Dietary note" at the event.
- Dietary requirements - See above
You can edit items by clicking the 3 dots next to the item that you want to edit, then clicking on 'Edit. Once you have edited the information you want you can then click on 'Save item' to save any changes.
To delete items click the 3 dots next to the item that you want to delete, then click on 'Delete' and 'OK'
NB - When editing any food & drink item all changes will automatically be updated to all events that they are selected in.
Creating Menu's
To create a menu, you first need to navigate to your venue and click on 'Billable items' then 'Food & Drink' in the menu on the left hand side. Once you have navigated to the Food & Drink page you will land on the Menus tab, click on 'Add new' to start creating your menu. Fill out the required information and click 'Add menu':
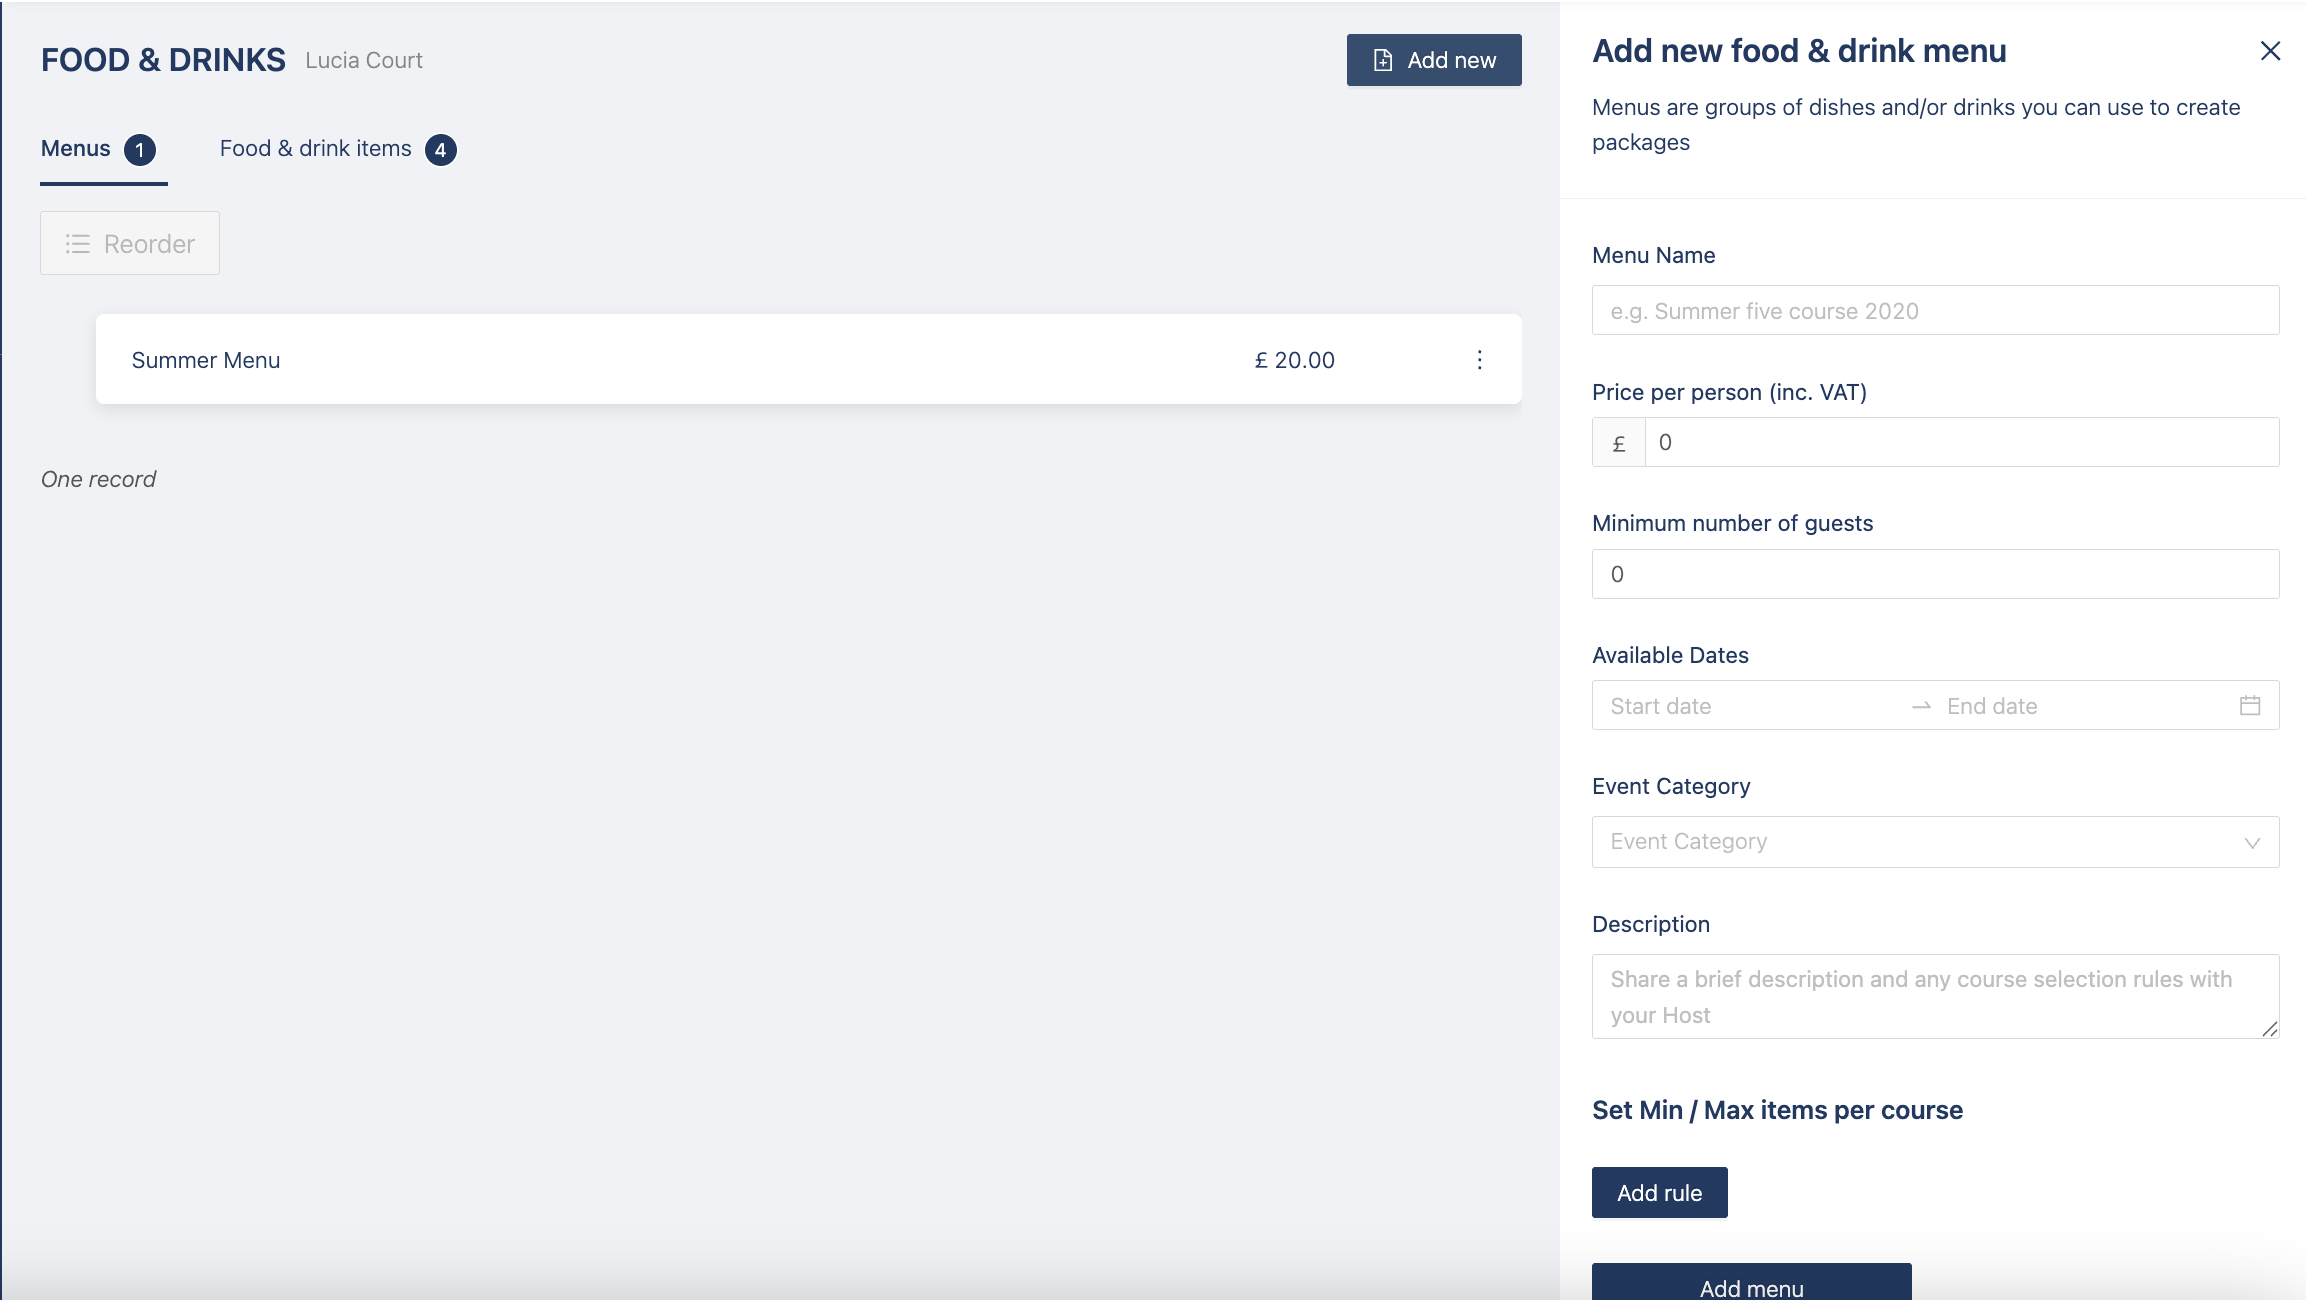
You can then decide to add a minimum number of guests, available dates, event category and a description for your hosts.
You can also set minimum or maximum items per course, this forces the host to select at least x amount of items or less than x amount of items. For example, you can create a canapé menu with a minimum of 3 items and a maximum of 5, so your hosts cannot choose more or less than that.
You can edit a menu by clicking the 3 dots next to the menu you want to edit, then click on 'Edit menu details'. You can then edit the fields you want and click 'Save menu':
To delete a menu click the 3 dots next to the menu you want to delete then click on 'Delete', then 'OK':
NB - When editing any menu item all changes will automatically be updated to all events that they are selected in.