
Creating Workflows
Workflows are an automated set of tasks and milestones, which you can add to your events, to simplify and save time in the planning process.
- Task - A specific email reminder that can be marked as complete
- Milestone - Gentle reminders used to show the planning flow to you and your customers with no specific deadlines and no email reminders (Only used for events)
- Automation - Add emails to automatically send
You can create as many workflows as you like, with unlimited tasks, milestones, and emails. Examples of what our customers use them for include:
- Sending reminders to their customers to make payments
- Sending reminders to themselves to book in planning meetings
- Sending customers email with documents
How to create a workflow
1. To create a workflow, navigate to your venue and click on 'Planning' then 'Workflows':
- Stay in Event or go to Pipeline and click on 'Add new workflow' to choose the event type and status, name your workflow and add notes.
How to add a task
1. Click on the 3 dots next to the workflow you want to add the task to, then click on 'Add workflow item'. Then select task from the drop down:
You can then fill out details to personalise your task. e.g. 'Scheduled' – choose when the task is due, based on days/weeks/months before or after a key date (like the Event Day or Showround Date). When finished, click on 'Add item' or 'Save & add another'.
How to add a milestone (for events)
Click the 3 dots next to the workflow that you want to add the milestone to and click on 'Add workflow item'. Then select 'Add Milestone to timeline' from the dropdown menu:
Details:
- Schedule - Same as when adding a task, you can select a date by which a milestone should aim to be done by.
- Display date - Choose whether or not a specific day will be assigned to your milestone
- Share - As a venue, you can determine if you want this milestone to be visable by your host or not.
How to add an email
Click on the three dots to add workflow item, then click automation
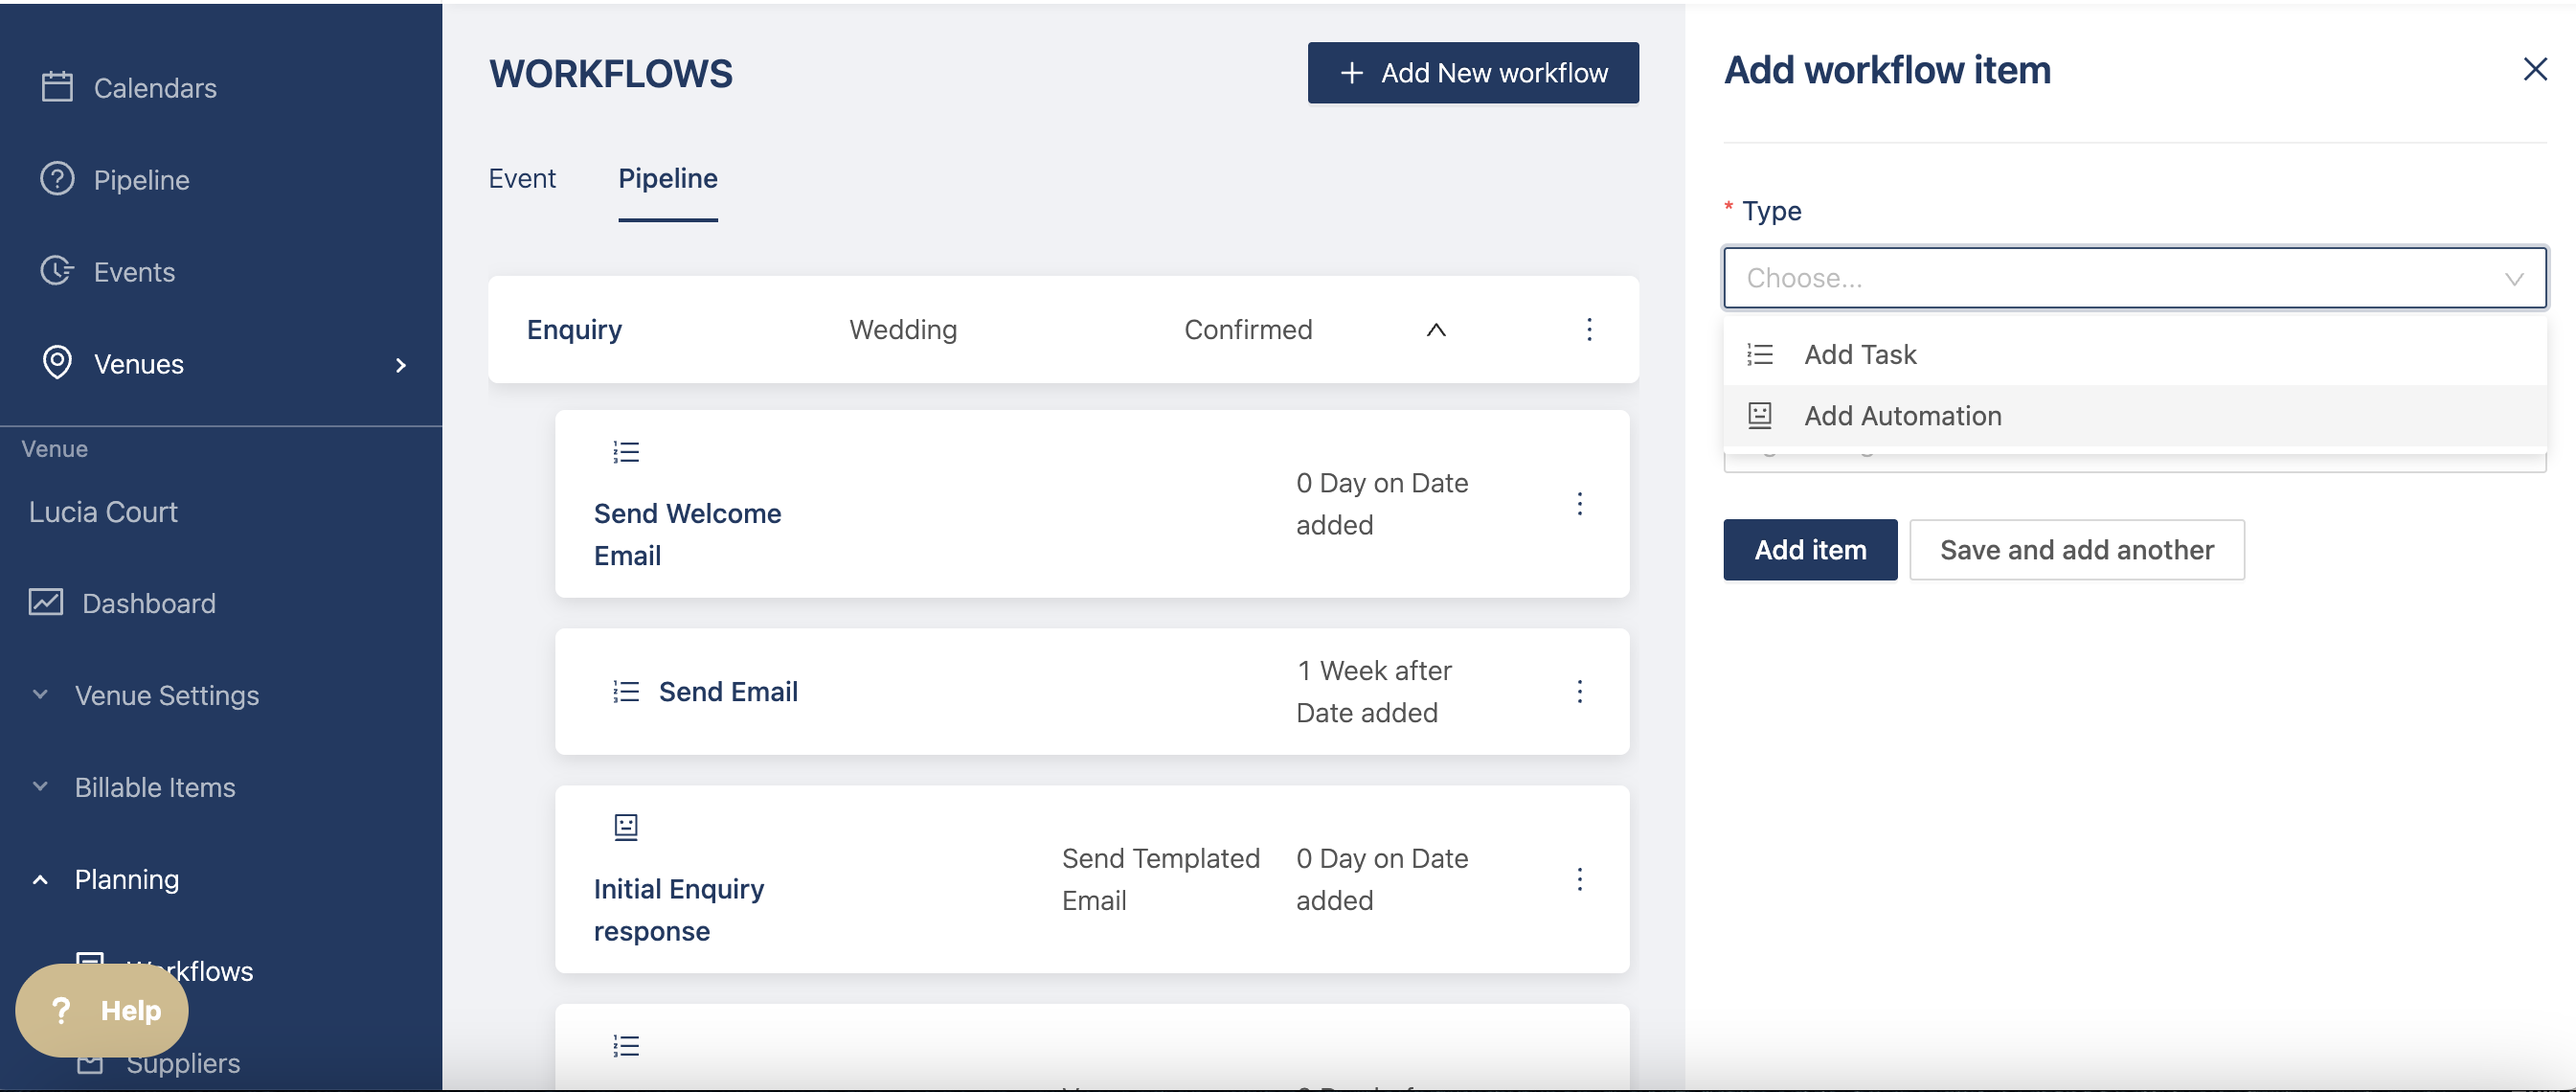
Add a title, for example, "email 1", select the email template you'd like to send (previously created in email templates), and when you want the email to send
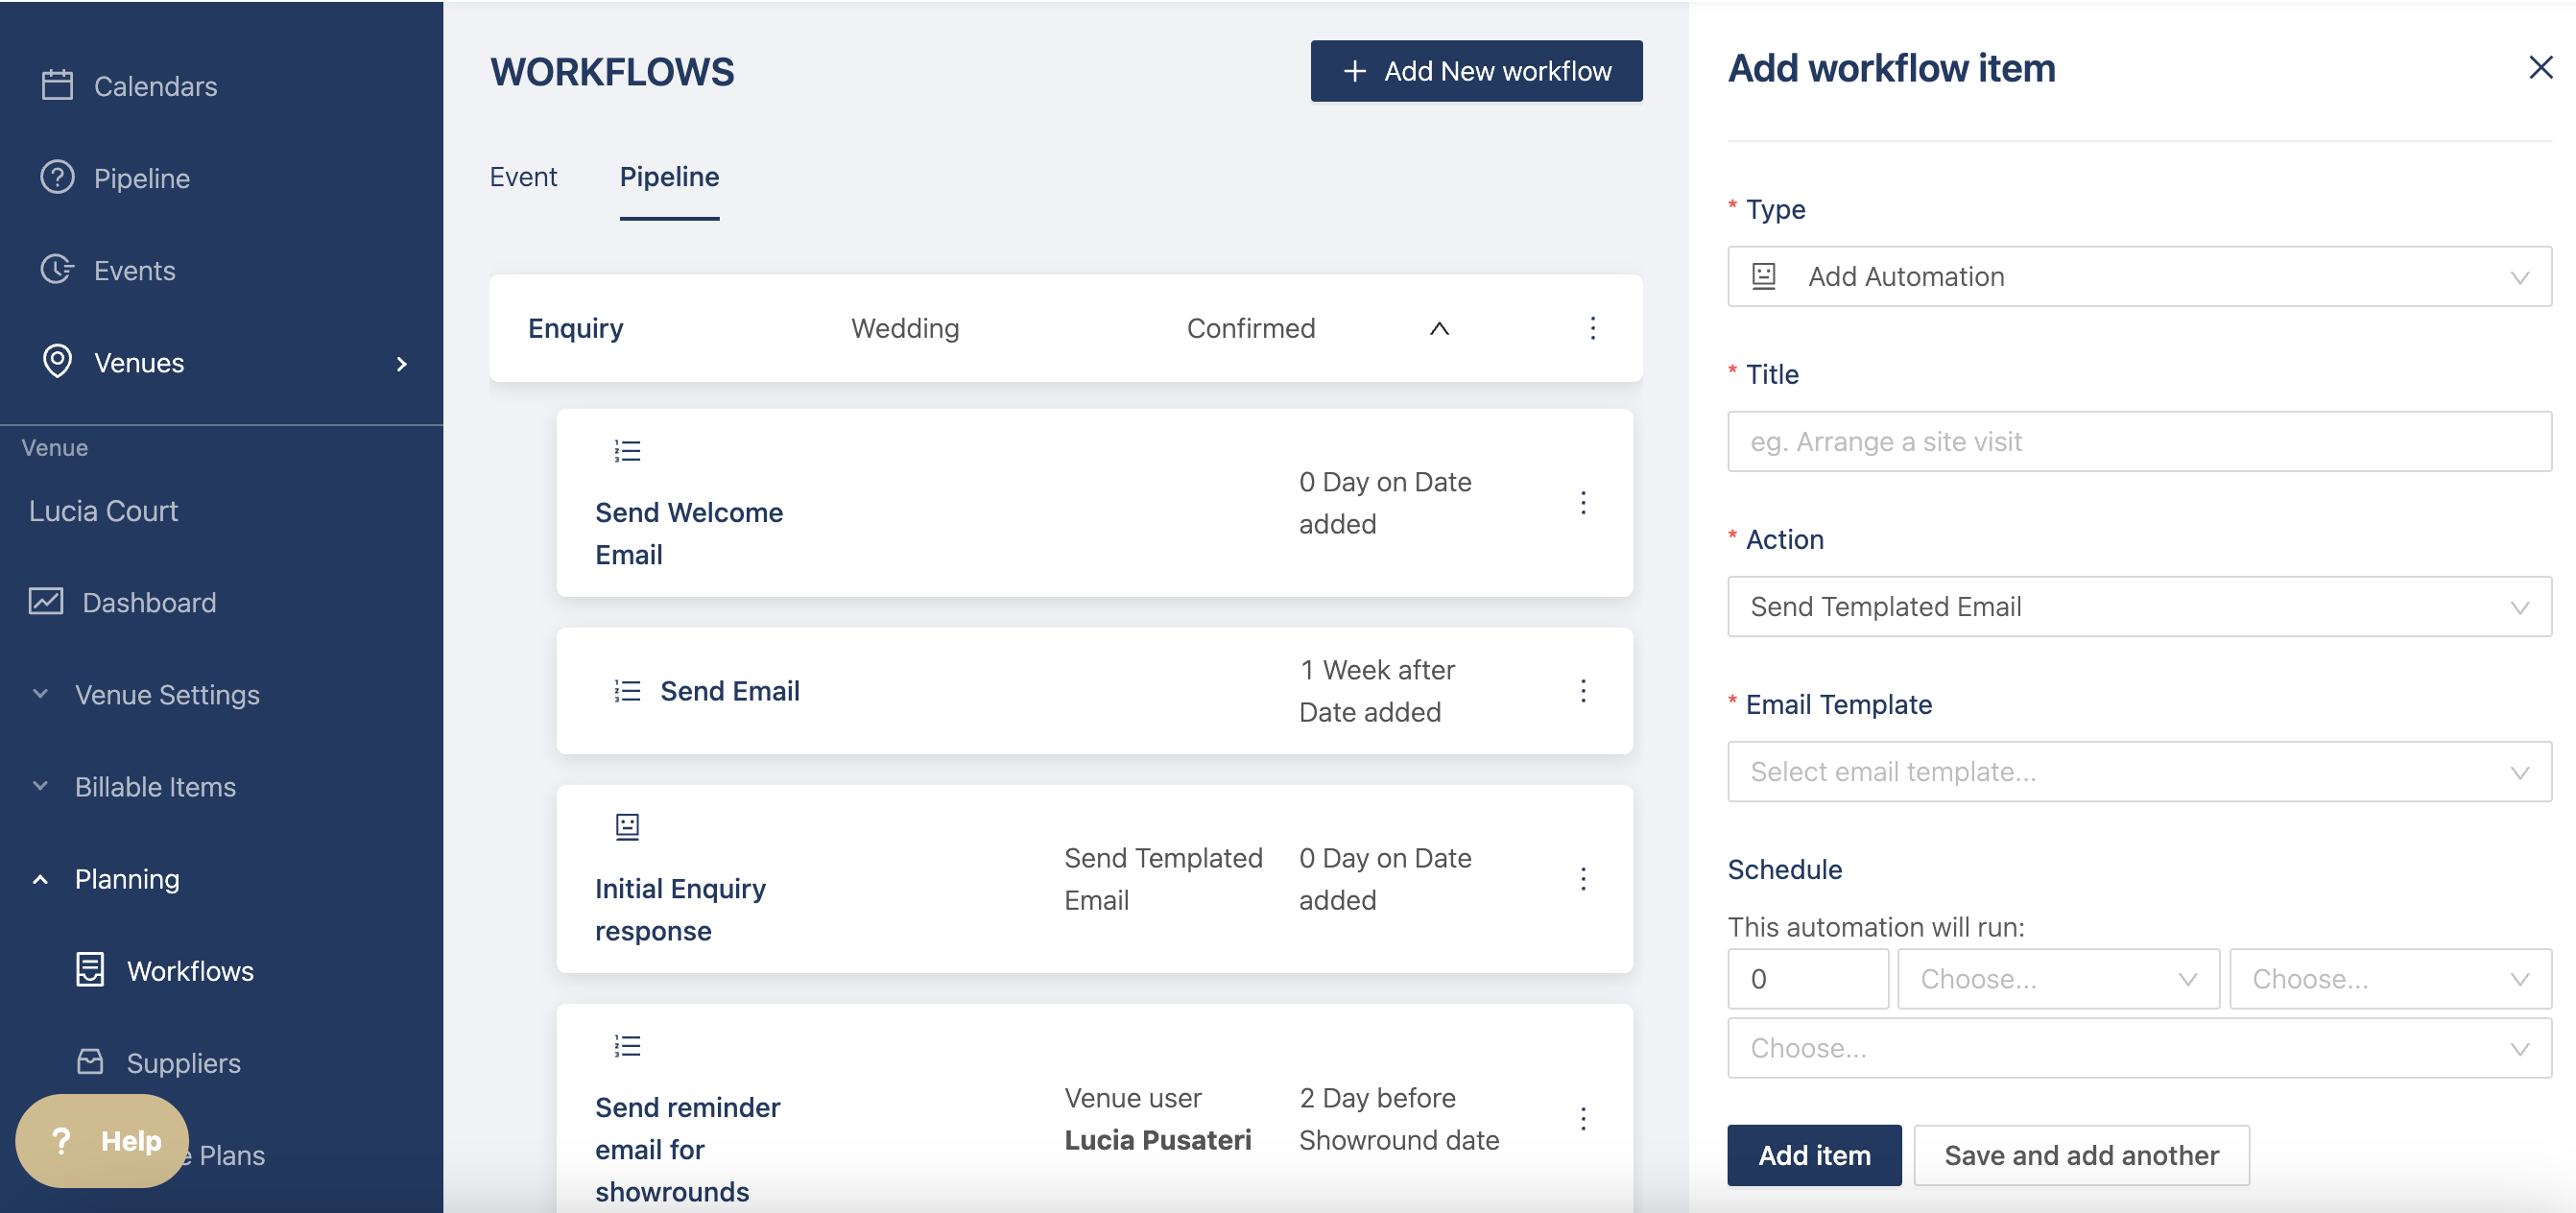
The email will be triggered based on the schedule and sent to the customers attached to the event or pipeline enquiry